Flow Collectors
Workflow for Building Agentless Microsegmentation using flow collectors
Onboarding
This section describes the steps required to integrate Flow Collctors with the Xshield platform to enable advanced endpoint visibility and telemetry ingestion.
By connecting your Collection flows from your environment, Xshield can:
- Import your assets and Telemetry / Traffic
- Provide deep visibility and insights of the traffic flows between endpoints
This integration helps enhance your organization's security posture by enabling threat visibility and forensic analysis across your network without the need for any additional agents.
Prerequisites
To successfully integrate Flow Collectors with Xshield, the customer needs to provide the following details:
-
Flow Export Support: The switch or router should support flow export.
-
Access to vm to run flow collectors: We should have a vm which can be used to run flow collectors and is able to recieve the exported flows.
Configuring Flow Collectors Integration in Xshield Platform
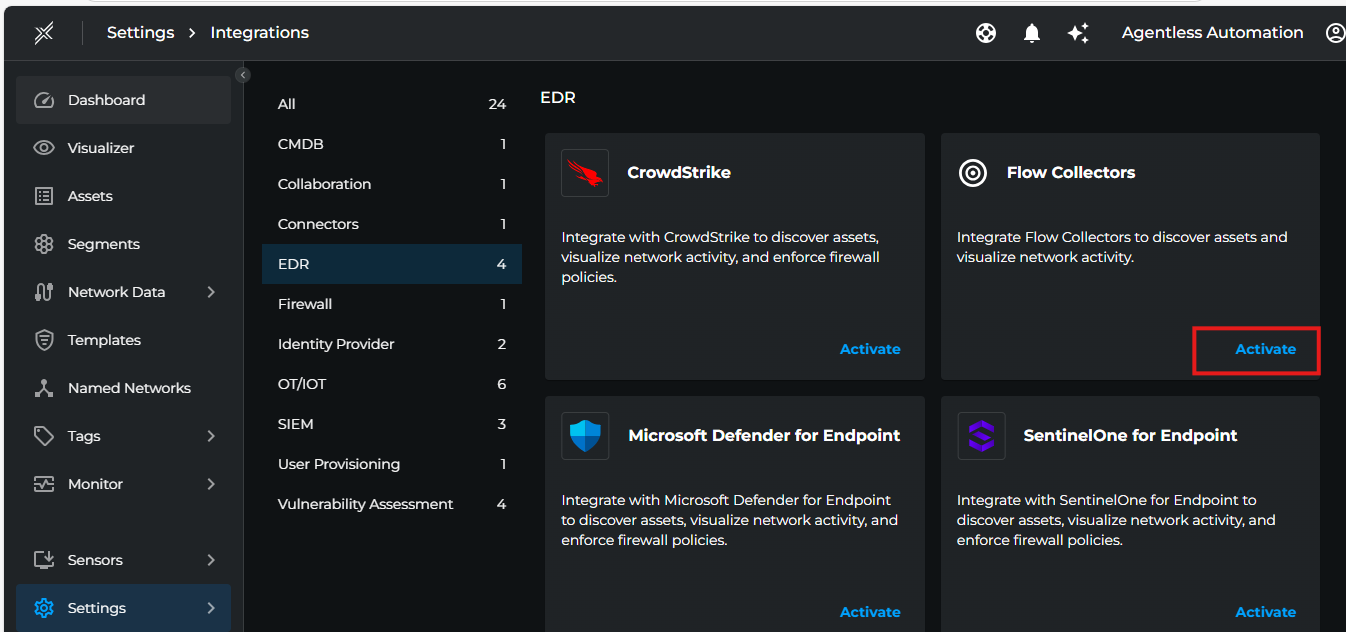
- Login to Xshield console and navigate to Settings > Integrations > EDR > Flow Collectors. Click on Activate button.
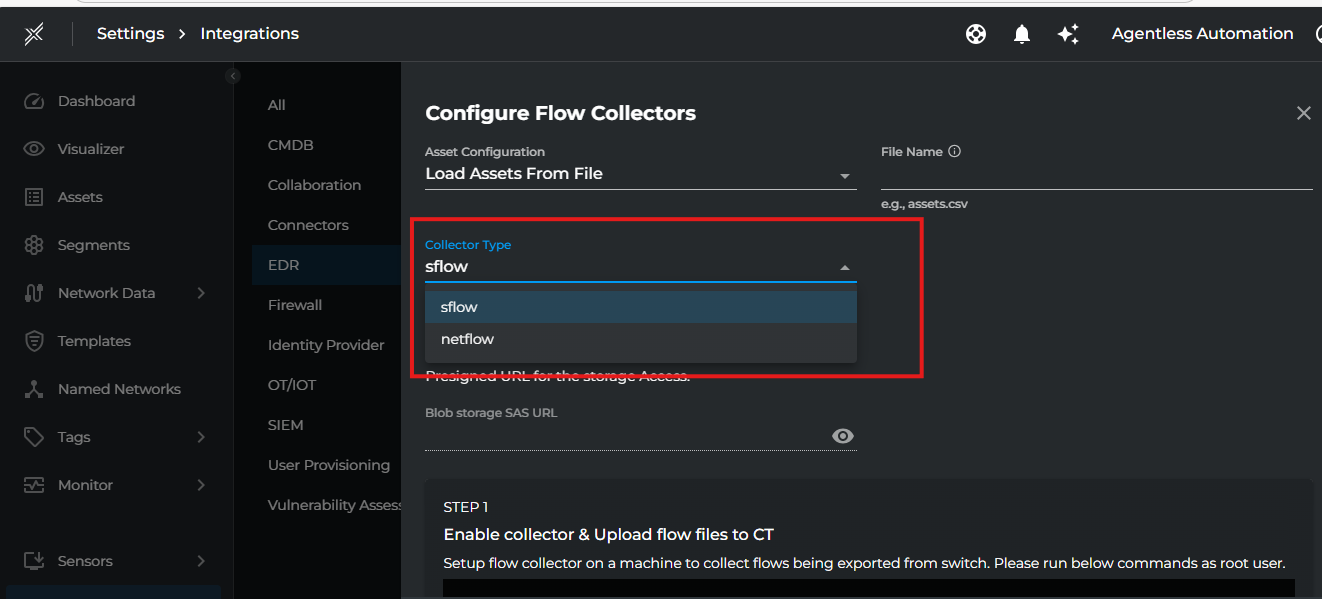
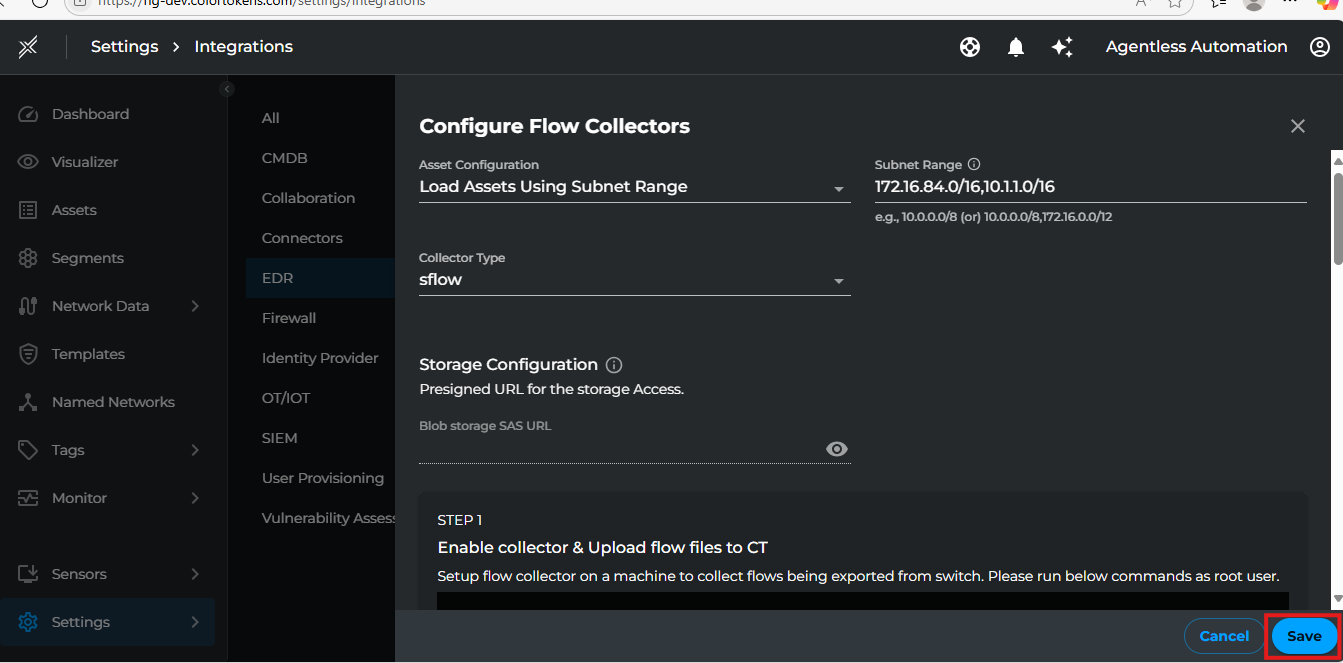
 2. Fill the below details then click Save.
| Setting | Description |
|---|---|
| Collector Type | Select either sflow or netflow based on your flow collector type |
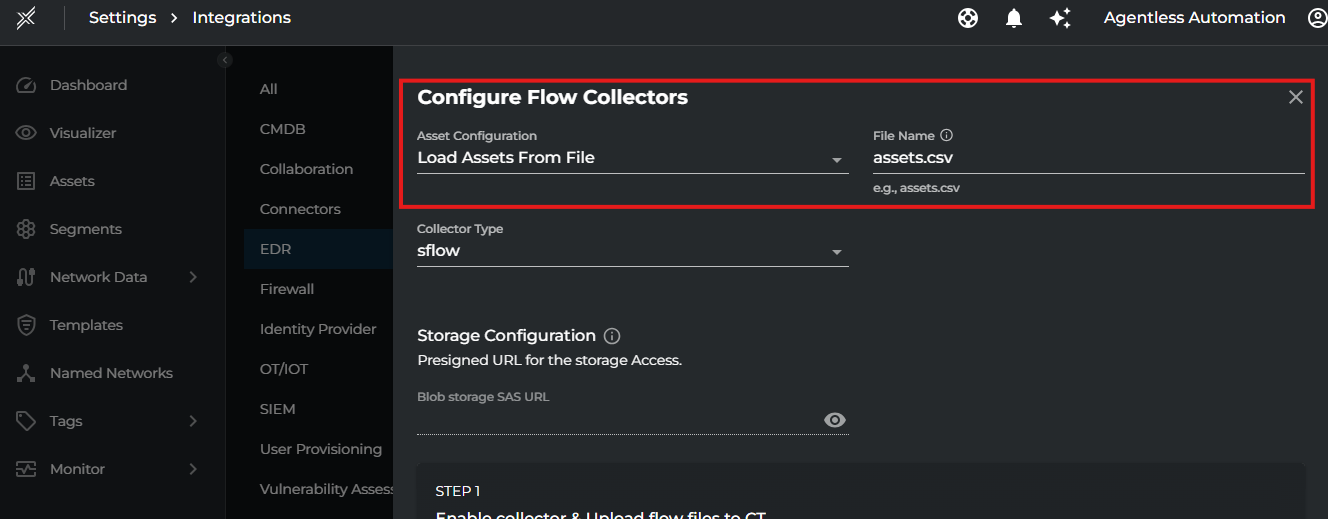
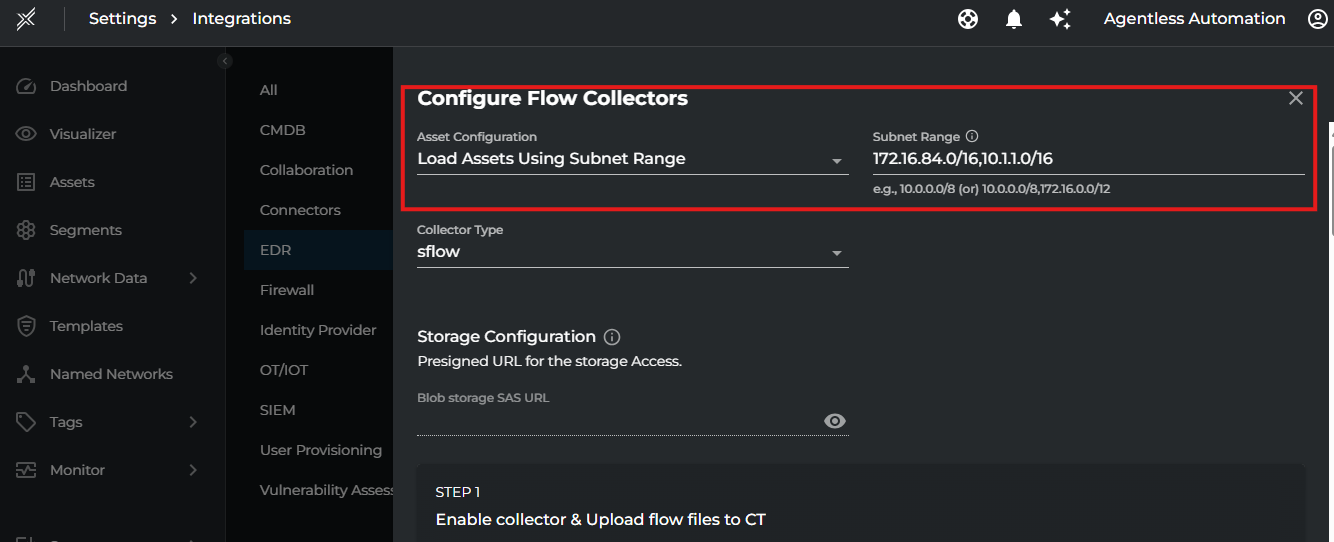
| Asset Configuration | Specify the asset configuration either file name containing asset information or subnet range to monitor |
| AssetFileName | Specify the asset configuration file name containing asset information |
| SubnetRange | Specify the subnet range(s) to monitor in CIDR format (e.g., 10.0.0.0/8 or 192.168.1.0/24,172.13.1.0/2) |
Note: Choose either
AssetFileNameorSubnetRangebased on your requirement. If you don't specify an assets file, you must provide a subnet range for asset discovery.
Asset Configuration
-
If Asset Configuration using AssetFileName has been selected, click on Save again once you upload the file to blob store using the provided command. This will start the import process and of corresponding endpoints into Xshield.
-
After Few minutes, the corresponding endpoints will be available in the Assets tab in Xshield. Once we verify that IP addresses are populated on these assets, we can go ahead with uploading the flows to Xshield.
Note: If you choose to use assets file, prepare a CSV file with the following format and upload to sas url provided:
Asset Name,IP Address,MAC Address

server1,192.168.1.10,00:1A:2B:3C:4D:5E

server2,192.168.1.11,00:1A:2B:3C:4D:5F
Note: Clicking on any asset name in the assets page will take you to the details page. The asset details page will display information like IP Address, etc.
- IF Asset Configuration using SubnetRange has been selected, we can go ahead with uploading the flows to Xshield we will auto discover the assets and add them to Xshield.
Flow Collectors Configuration
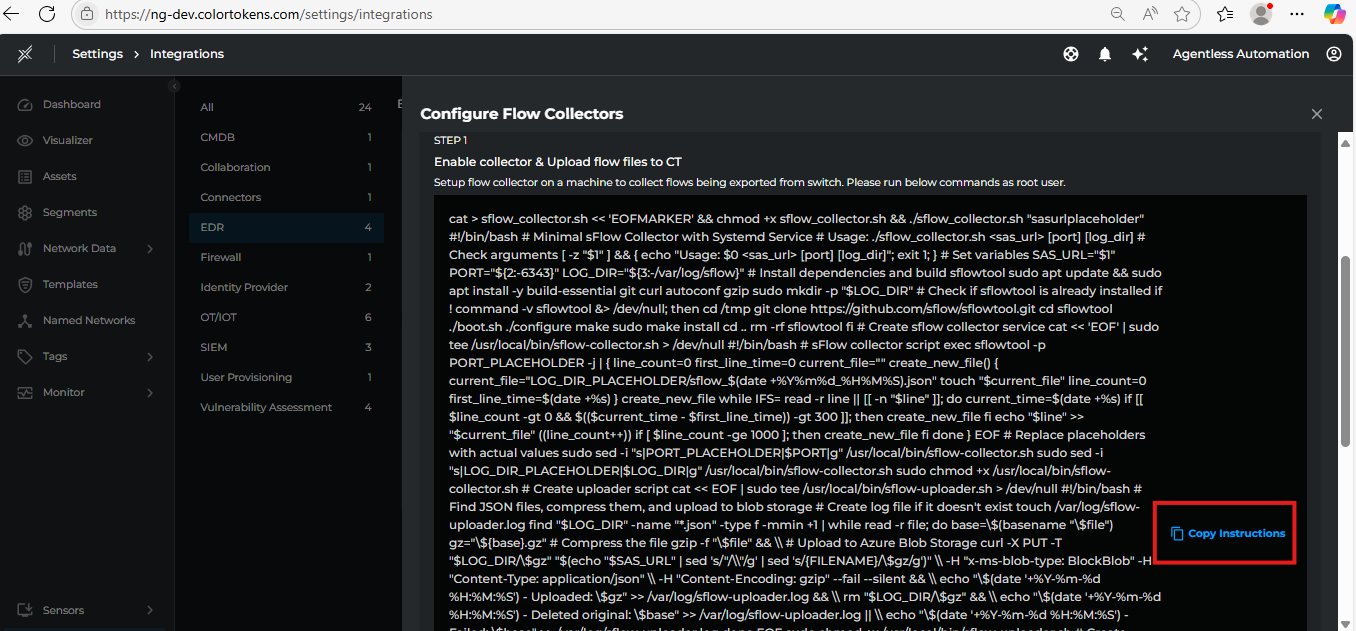
Once the assets discovery is configured, we can start configuring the flow collectors to upload the flows to Xshield by following the steps provide in the activation page.
- Copy the command shown in the activation page and run it on the vm mentioned in pre-requisites.
Flow Exporter Configuration
- Once the flow collector is configured, it will provide an ip address and port number to which the flows need to be exported.
- Use the provided ip address and port number to configure the flow exporter on the switch or router.
- Once this is configured, the flows will start being exported to Xshield.
Visibility
- To Visualize the traffic flows between the imported endpoints, click on Visualiser tab and the telemetry can be visualized basing on the filters available.
Summary
This integration helps enhance your organization's security posture by enabling visibility and threat analysis across your network without the need for any additional agents.