Onboarding
Xshield Platform Onboarding
Getting started with the Xshield Platform requires accepting an invitation, creating an account, and setting up authentication. Follow the steps below to complete the onboarding process.
Accept the Invitation
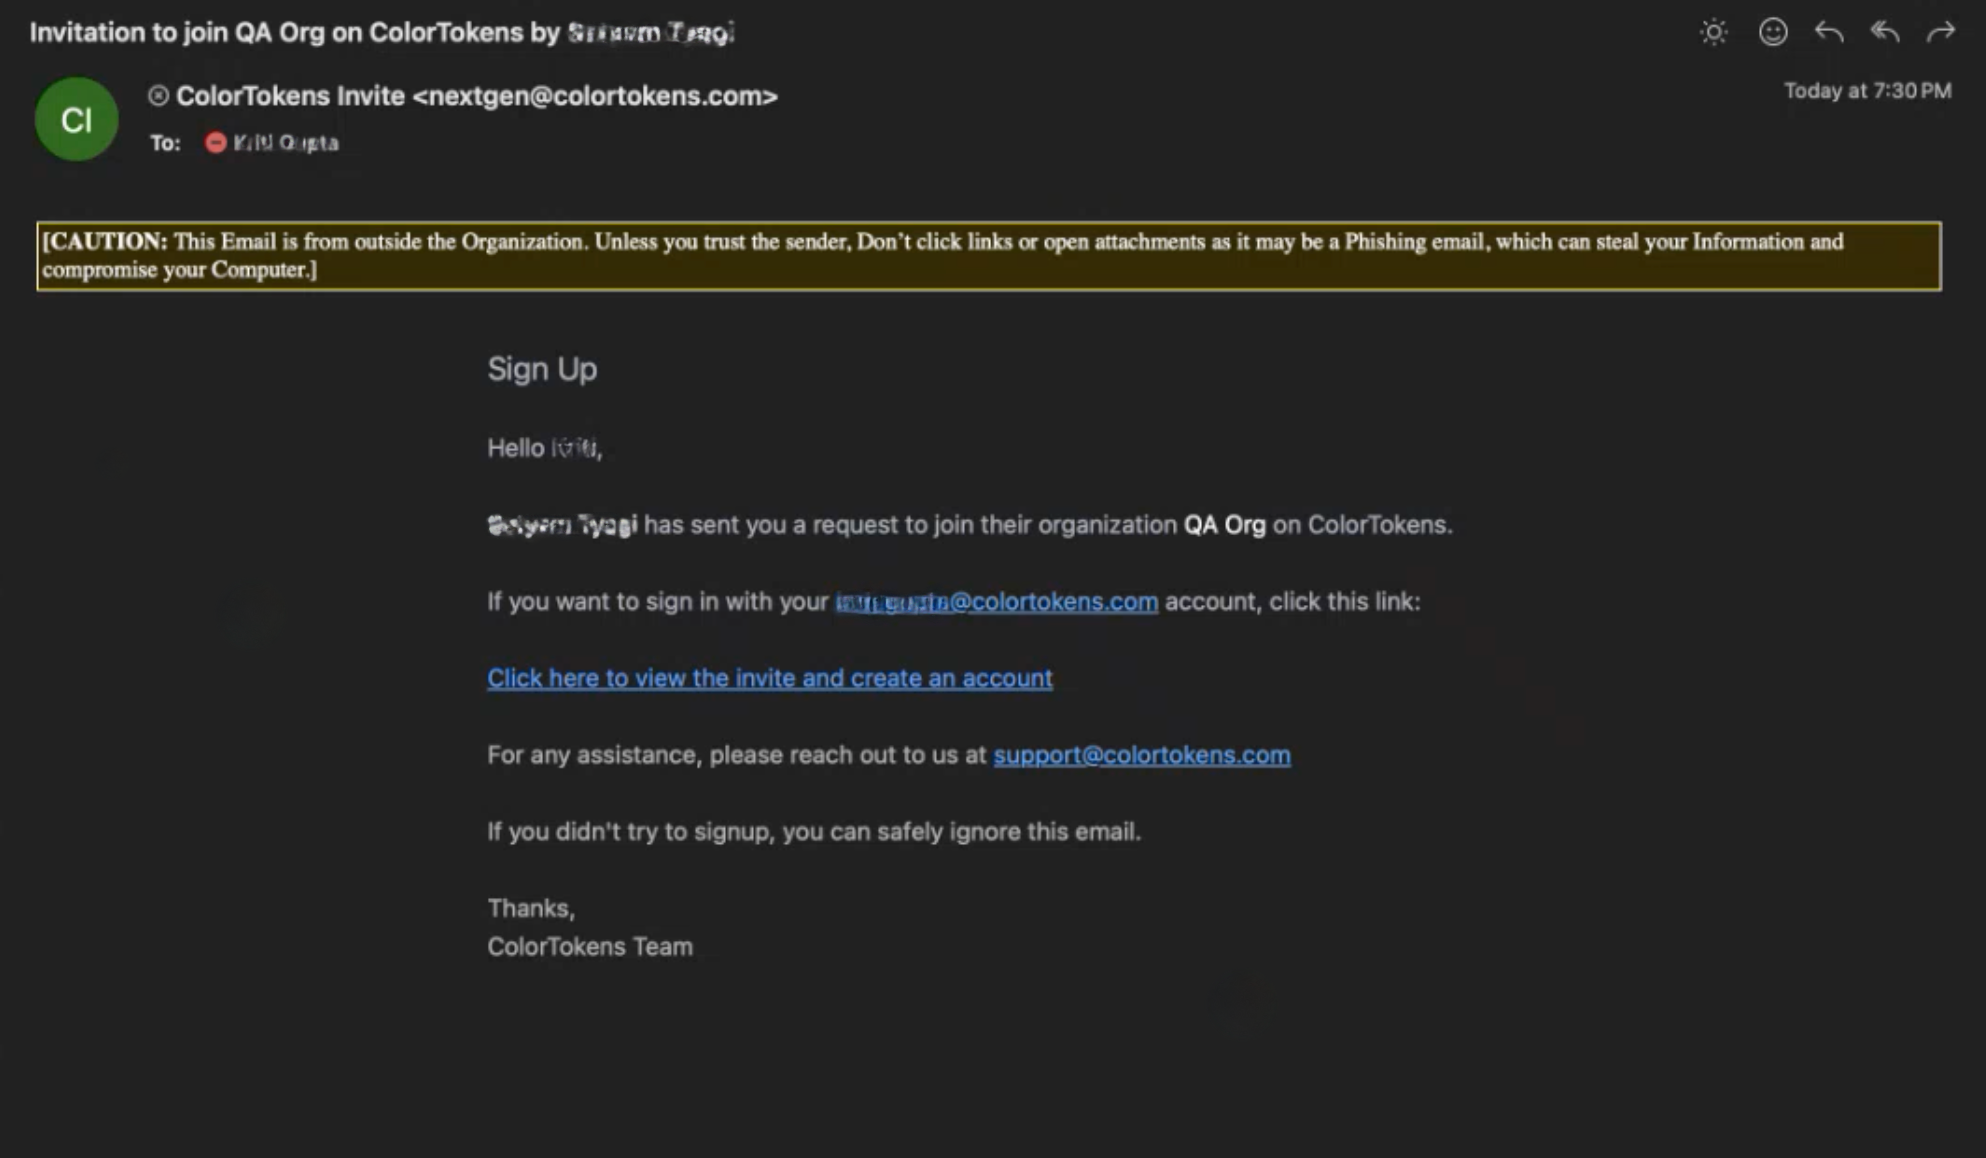
When the administrator invites a member to be part of the tenant, the member will receive an e-mail with information for onboarding. In the invitation email, the user will need to click on the link that says "Click here to view the invite and create an account." This link will redirect to the invite page, where the Terms and Conditions must be accepted before proceeding with the invitation.
Configure the Account
After accepting the invitation, the user will be asked to set their password and their MFA credentials (if configured at the tenant level).
Authenticate
Multi-factor authentication requires generating passcodes from standard authenticators. Either Google Authenticator or Microsoft Authenticator can be used for this step.
Onboarding Complete
Once authentication is successful, user will be able to see the default page from where they can navigate to the different parts of the system
Logging Out
To log out of the platform, open the Organization Menu by clicking the button located on the right side of the organization name. From the dropdown menu, select Logout to securely sign out of the system.
Configuring Automatic Logout
For enhanced security, users can configure automatic logout due to inactivity. Navigate to Settings from the left-side panel, then select the Session Config tab. Within this section, users can define a Session Idle Timeout. If this setting is enabled at the tenant level, users will be automatically logged out after a specified period of inactivity.