Lab Setup
Basic Lab Setup
Please refer to the basic Xshield Lab setup guide for the base setup.
Deploying the server segmentation lab
In this demonstration, we will begin by building basic security (blocking malicious and risky communications, restricting management and infrastructure ports) followed by allow-listing environment-specific traffic flows.
we are using a CRM application use case to segment production vs Non-production environments. The goal is to progressively implement microsegmentation policies, starting with the Location and Environment layers, and advancing to the Application layer. This approach gradually reduces the attack surface and lowers the risk of blast radius at each stage.
To deploy the lab environment specific to server segmentation and this use case, follow the steps below:
Steps to Deploy the Lab Environment:
- If you’re already in a root shell (running as sudo/root), deploy the lab with:
create-lab server
Otherwise, first switch to a root shell and then run the command:
sudo -i
create-lab server
- If this is your first time running create-lab on the VM, you’ll be prompted for:
- config.yaml path
- API private key (.pem) path
Generate/download these credentials by following the Installation Guide, and provide the file paths when prompted.
Final Result
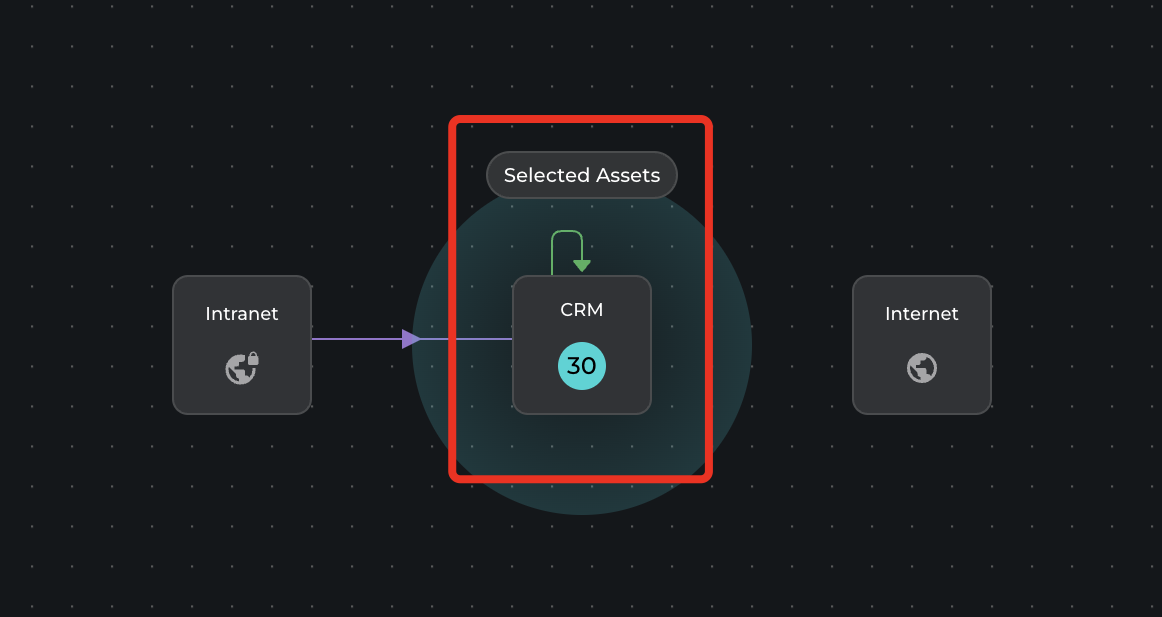
The setup process will create 30 assets that can communicate with the tenant on the Xshield platform.
Image - To be added
Demo Lab Components & Topology
Key Components:
1. Networks:
- Managed Network:
172.16.10.0/24 - Unmanaged Network:
172.20.10.0/24
2. Devices (Nodes):
- Controller: Acts as a gateway between the managed and unmanaged networks.
- CRM Web Server: Managed nodes of WEB role for Prod and Test env connected to the managed network.
- CRM App Server: Managed nodes of APP role for Prod and Test env connected to the managed network.
- CRM DB Server: Managed nodes of DB role for Prod and Test env connected to the managed network.
- Nextcloud Client: An unmanaged node connected to the unmanaged network.
- Nextcloud IT Admin: An unmanaged node connected to the unmanaged network.
- Nextcloud AD Infra (US): An unmanaged node connected to the unmanaged network.
3. Routing & Gateways:
- The controller device has interfaces in both the managed network (
172.16.10.1) and unmanaged network (172.20.10.1), acting as a routing bridge between them. - The managed nodes (Web Server, App Server, DB Server) all communicate through the controller’s managed network interface.
- The unmanaged nodes (Client, IT Admin, AD Infra) communicate through the controller’s unmanaged network interface.
4. Network Configurations:
- The controller enables IP forwarding and masquerading, allowing communication between the two networks.
- Each node in the managed network has a gateway of
172.16.10.1. - Each node in the unmanaged network has a gateway of
172.20.10.1.
Network Topology Diagram:
Here’s a textual description of the topology:
-
Managed Network (172.16.10.0/24):
- CRM App Servers (Prod -
172.16.10.2-172.16.10.6, Test -172.16.10.7-172.16.10.11) - CRM DB Servers (Prod -
172.16.10.12-172.16.10.16, Test -172.16.10.17-172.16.10.21) - CRM Web Servers (Prod -
172.16.10.22-172.16.10.26, Test -172.16.10.27-172.16.10.31) - Controller (
172.16.10.1)
- CRM App Servers (Prod -
-
Unmanaged Network (172.20.10.0/24):
- Nextcloud IT Admin (
172.20.10.2) - Nextcloud Client (
172.20.10.3) - Nextcloud AD Infra (
172.20.10.4) - Controller (
172.20.10.1)
- Nextcloud IT Admin (
Policy Modelling
1. Allowed Traffic:
- Web Prod --> App Prod (9000), DB Prod(22), AD Infra(389, 53)
- App Prod --> DB Prod (3600, 21), AD Infra(389, 53)
- DB Prod --> App Prod(21, 22), AD Infra(389, 53)
- Web Test --> App Test (9000), DB Test (22), App Prod(9000), DB Prod(3306), AD Infra(389, 53)
- App Test --> DB Test (3600, 21), AD Infra (389, 53)
- DB Test --> App Test (21), AD Infra (389, 53)
- NextCloud client --> Web Prod (443), Web Test (443, 80), App Prod (22)
- NextCloud IT Admin --> Web Prod (22), App Prod (22), DB Prod (21, 22)
2. Denied Traffic:
- NextCloud Client to App Prod Server on Port 22
- IT Admin to DB Server on Port 3306
- Web to DB Server on Port 22
- App to DB Server on Ports 21/22
- DB to App Server on Ports 21/22
Recovery Instructions
If you need to reconnect the lab environment after a host restart
- Follow the Recovery of Demo Lab Environment instructions
If you want to recreate the lab environment completely by deleting and rebuilding it
- Follow the Remove Lab Environment instructions
- Return to the Steps to Deploy the Lab Environment section above