🔒 Revoking Storage Access
| ⚠️ WARNING: THIS FEATURE WILL BE AVAILABLE FROM 25.3.2 RELEASE |
|---|
📘 Introduction
This guide walks you through the step-by-step process for revoking storage access for storage accounts in your Azure subscription, specifically for processing flow logs via the Xshield Cloud Connector.
✅ Prerequisites
Before you begin, ensure the following:
- Your Azure subscription is onboarded to the Xshield Cloud Connector.
🔒 Revoking Storage Access
Step 1: Navigate to Cloud Connector
- Log in to the Xshield Management Portal.
- In the left navigation menu, click Sensors.
- Select Cloud Connector from the Sensors list.
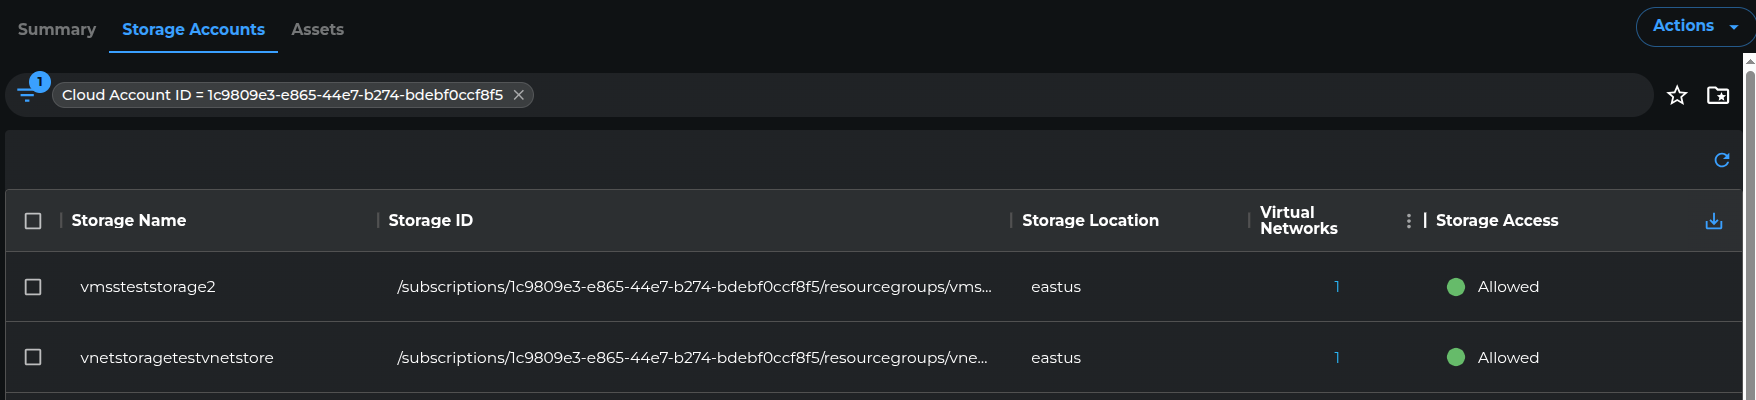
Step 2: Access Storage Accounts

- Click the Connector Name associated with the storage accounts you wish to access, or click the value in the Storage Accounts column.
- You will be redirected to the Storage Accounts page.
Step 3: Select Storage Accounts
💡 Note: If Enable Storage Read Access was activated during onboarding, individual revocation isn't supported.
You must first revoke access for all storage accounts:
- Select all accounts using the checkbox in the Storage Name column header.
- Click the Storage Access dropdown button (top-right).
- If not all accounts are selected, the button will be disabled, and you’ll see a tooltip message like below:
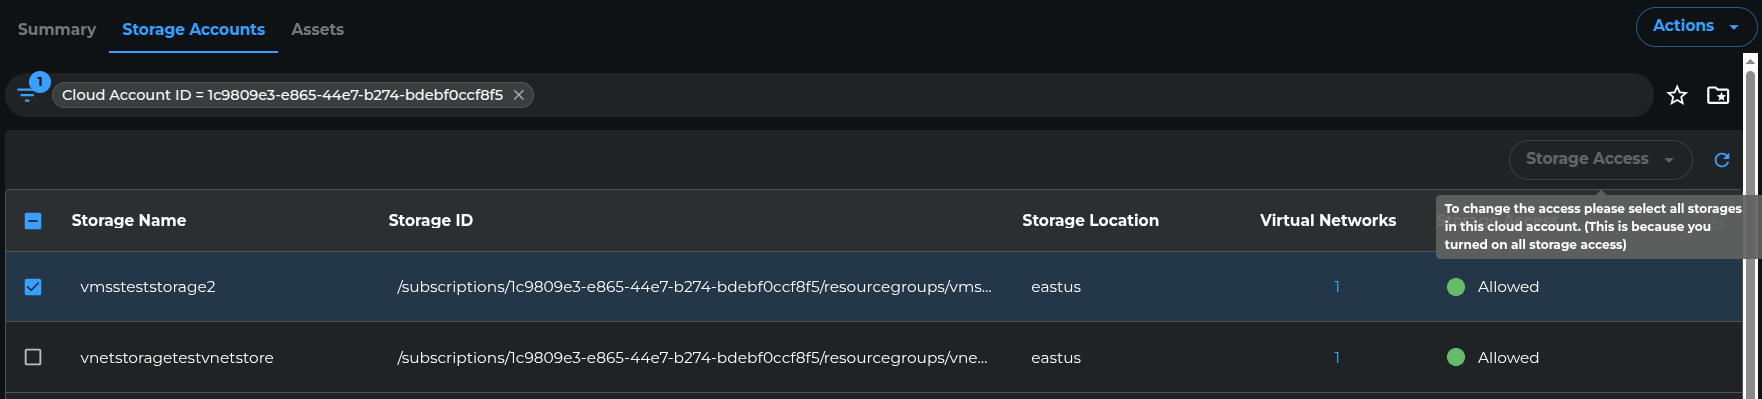
- Select one or more storage accounts by checking the box next to each account name.
Step 4: Choose Revoke Option
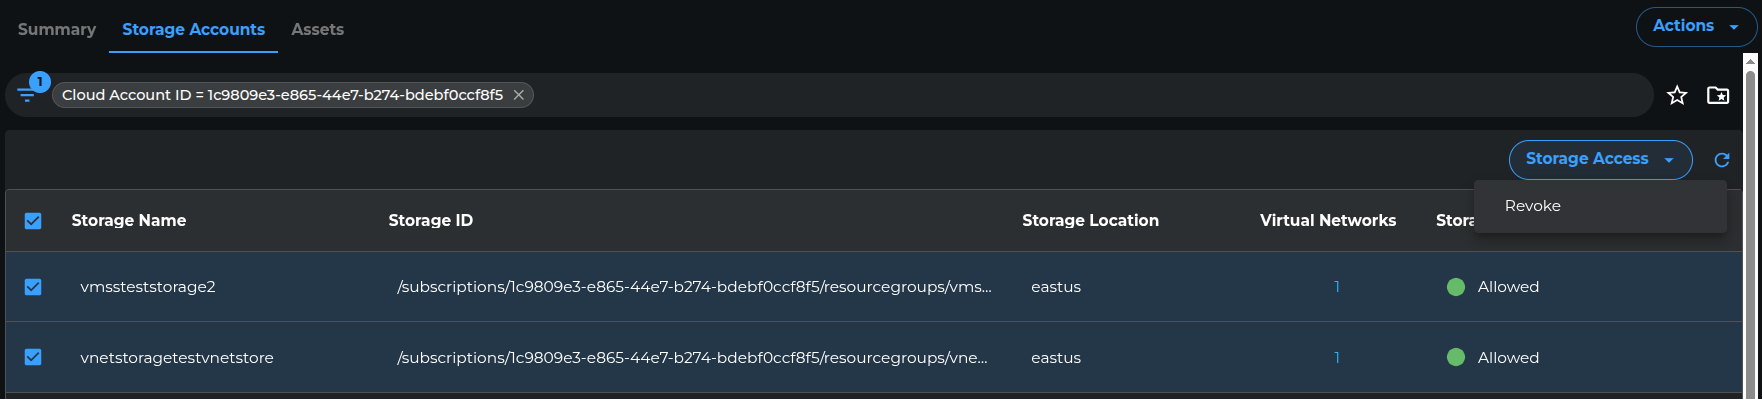
- Click the Storage Access dropdown button (top-right).
- Select Revoke from the menu.
Step 5: Authenticate with Azure
In the new window that opens:
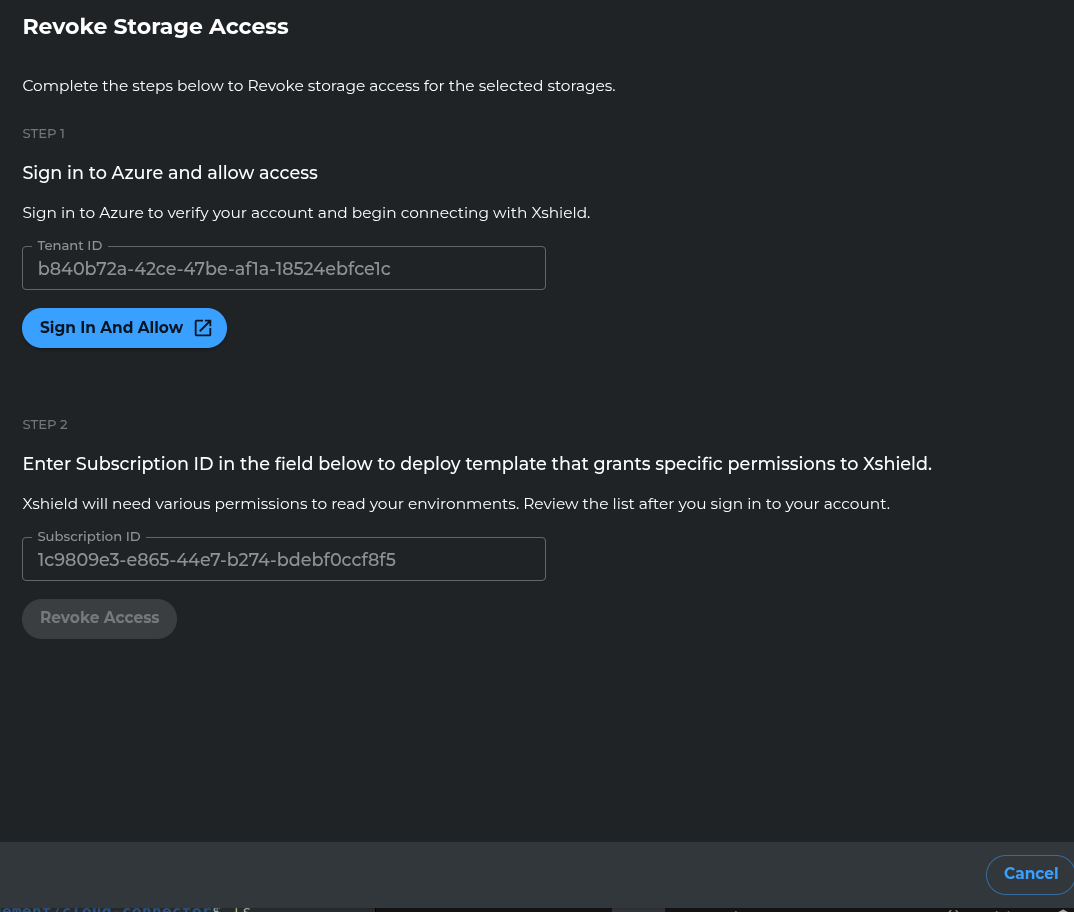
- Click Sign in and Allow.
- A new browser window will open for Azure authentication.
- Sign in using your Azure AD credentials (requires Application Administrator permissions).
- Review the permission request for the Xshield Cloud Connector app.
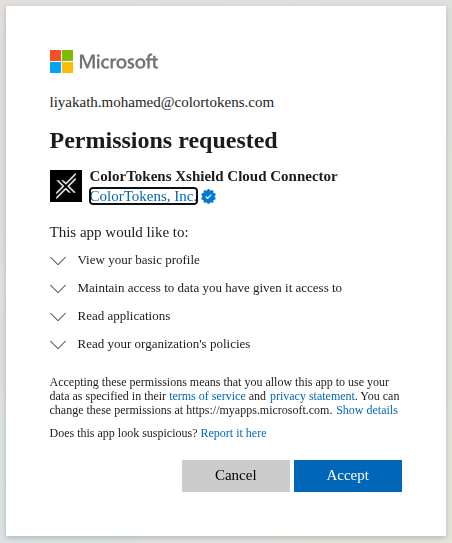
- Click Accept to authorize.
- You’ll be redirected to the storage access revocation page.
Step 6: Revoke Access

- Click Revoke Access to finalize the revocation for the selected Storage Accounts.
- Once complete, you’ll be taken back to the storage accounts page.

- Revoked accounts will show "Not allowed" in the Storage Access column.
Let me know if you'd like to build a grant/revoke automation flow or refine this for publishing on a docs site.