🔓Granting Storage Access
| ⚠️ WARNING: THIS FEATURE WILL BE AVAILABLE FROM 25.3.2 RELEASE |
|---|
📘 Introduction
This guide walks you through the step-by-step process for granting storage access to storage accounts in your Azure subscription for flow log processing via the Xshield Cloud Connector.
✅ Prerequisites
Before you begin, ensure the following:
- Your Azure subscription is onboarded to the Xshield Cloud Connector.
🔓 Granting Storage Access
Step 1: Navigate to Cloud Connector
- Log in to the Xshield Management Portal.
- Go to Sensors in the left navigation menu.
- Select Cloud Connector from the sensors list.
Step 2: Access Storage Accounts

- Click the Connector Name corresponding to the storage accounts you wish to access, or click the value in the Storage Accounts column.
- You will be redirected to the Storage Accounts page.
Step 3: Select Storage Accounts

- Use the checkboxes to select one or more storage accounts to grant access.
Step 4: Choosing the Grant Option

- Click the Storage Access button dropdown in the top-right corner.
- Select Grant from the menu.
Step 5: Authenticate with Azure
In the new window that opens:
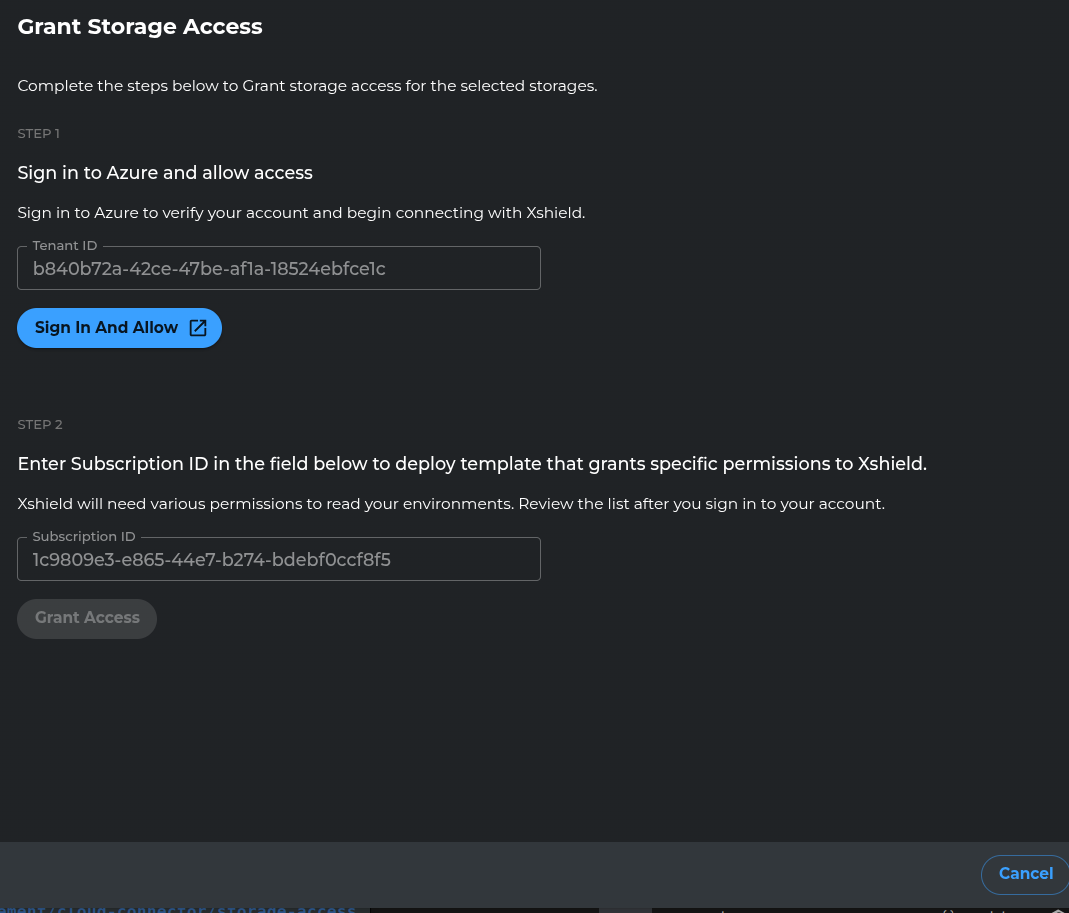
- Click Sign in and Allow.
- A new browser window will appear for Azure authentication.
- Sign in using your Azure AD credentials (requires Application Administrator permission).
- A permission request for the Xshield Cloud Connector app will be shown.
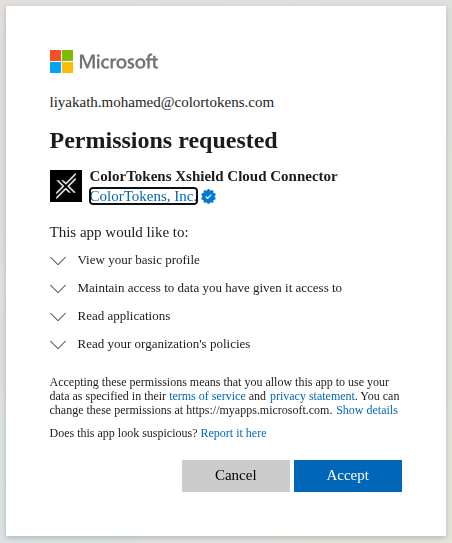
- Click Accept to authorize access.
- You’ll be redirected to the access granting page for your storage account.
Step 6: Grant Access
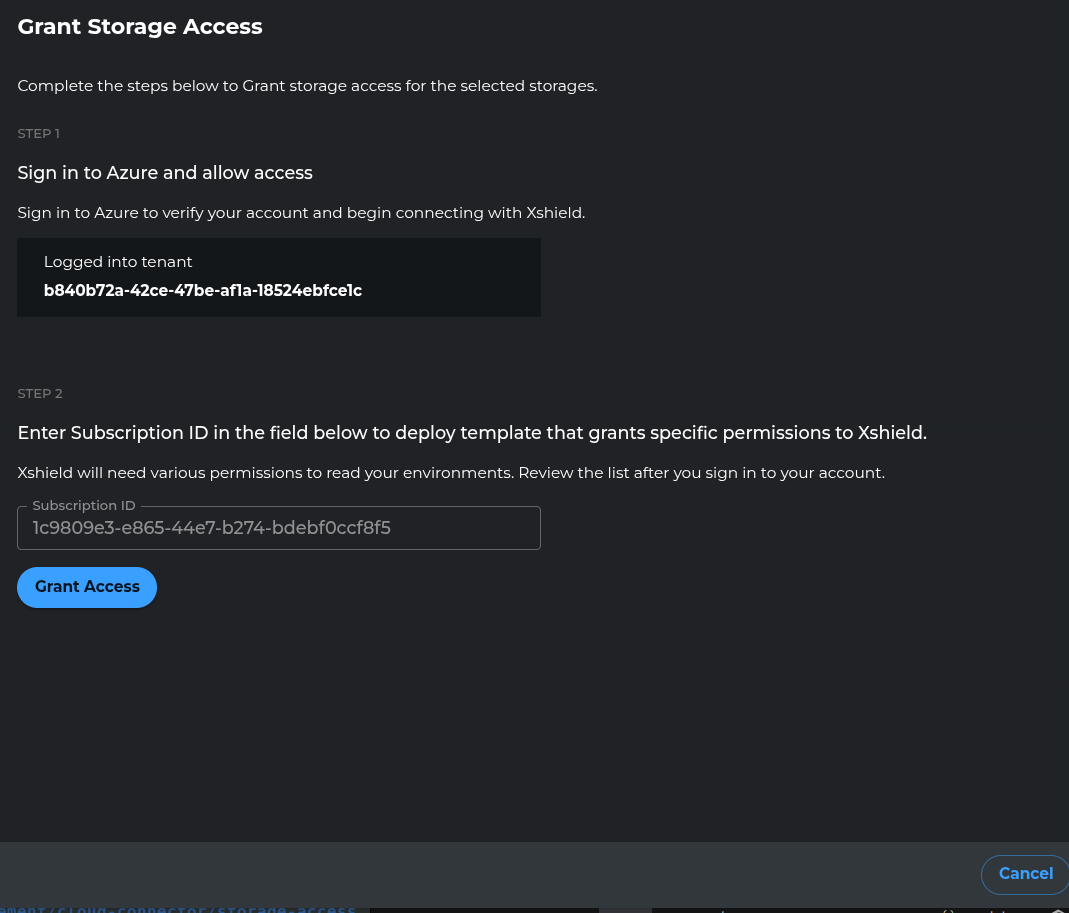
- Click Grant Access to authorize the Xshield Cloud Connector to access your selected Storage Accounts.
- Once completed, the access is successfully granted and will be redirected to the storage accounts page.

- The storage accounts with granted access will show "Allowed" in the Storage Access column.