Script-based
Introduction
This guide walks you through the script-based onboarding flow for connecting an AWS account to the Xshield Cloud Connector.
This method requires you to deploy a CloudFormation stack in your AWS account using the provided deployment script. The stack creates the cross-account IAM role and permissions needed for Xshield to discover and monitor AWS resources.
What the Script Does
The AWS deployment script deploys (or removes) a CloudFormation stack in the target AWS account.
Deploy Action
When run in deploy mode, the script:
- Verifies your AWS CLI profile is authenticated to the target AWS account
- Deploys a CloudFormation stack that creates the required cross-account IAM role and permissions
- Optionally enables additional permissions such as:
- S3 read access (for flow log analysis) using
--storage-access - Read-write permissions (if enabled) using
--read-write - XCloud permissions (enabled by default) using
--deploy-xcloud/--no-deploy-xcloud
- S3 read access (for flow log analysis) using
Cleanup (Delete) Action
When run with --cleanup, the script deletes the CloudFormation stack and removes the IAM resources created by the stack.
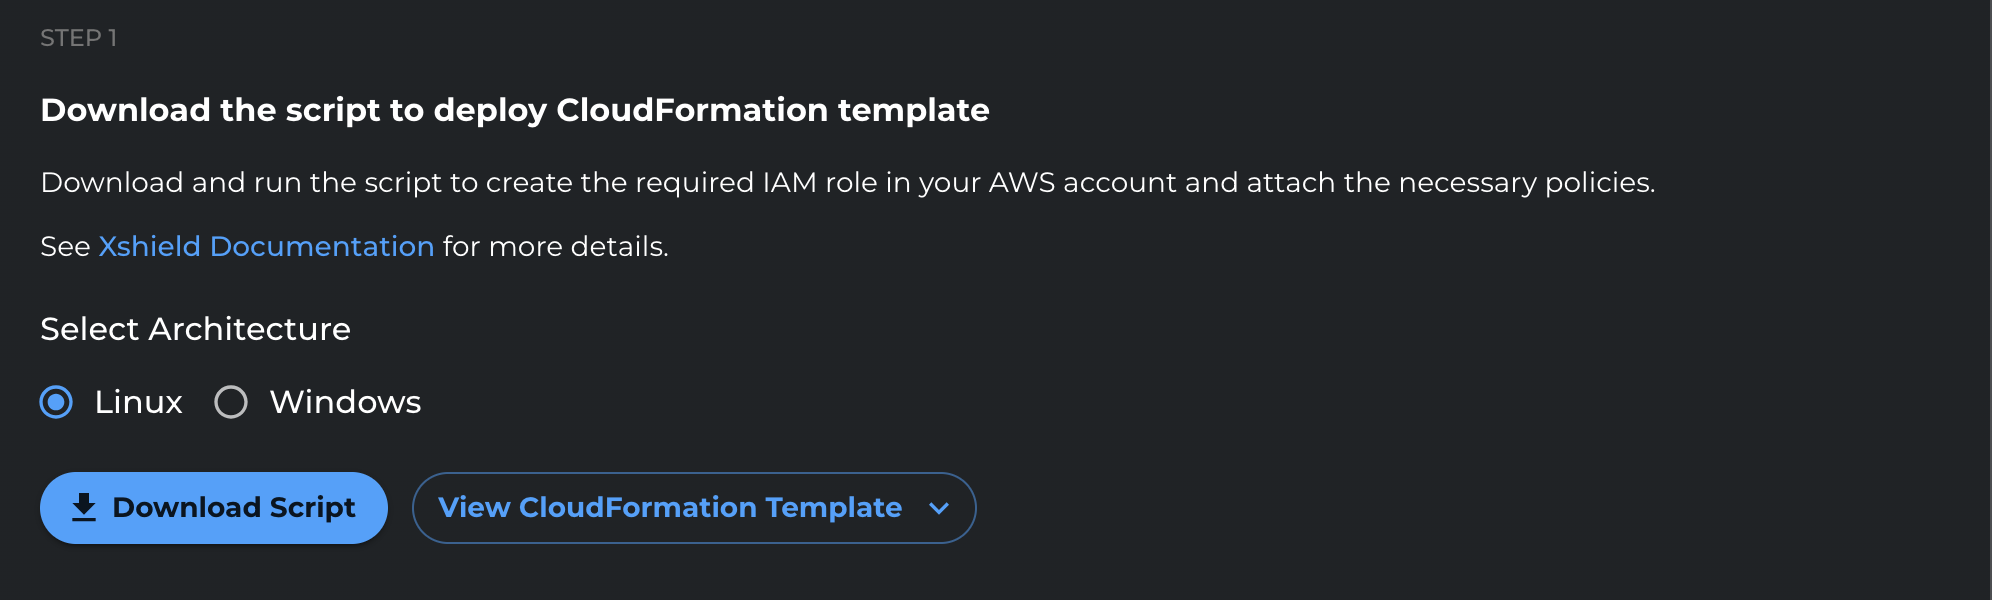
Step 1: Download and Run the Script
Download the AWS deployment script and run it in the AWS account you want to onboard.
-
Select the appropriate operating system (Linux or Windows).
-
Click Download Script to download the deployment script.
-
To review the permissions being deployed, click View CloudFormation Template.
-
Ensure your AWS CLI is authenticated to the target AWS account.
If you use SSO or a federated login, authenticate using your standard workflow for your environment.
To validate your active credentials, run:
aws sts get-caller-identity --profile <AWS_PROFILE> -
Download the script:
deploy-colortokens-aws-stack.sh -
Ensure the script is executable:
chmod +x deploy-colortokens-aws-stack.sh -
Run the script to deploy the CloudFormation stack:
./deploy-colortokens-aws-stack.sh \
  --aws-profile <AWS_PROFILE> \
  --target-account <TARGET_AWS_ACCOUNT_ID> \
  --colortokens-account <COLORTOKENS_AWS_ACCOUNT_ID> \
  --xcloud-account <XCLOUD_AWS_ACCOUNT_ID> \
  --region <AWS_REGION>
Optional flags:
--storage-access
--read-write
--no-deploy-xcloud -
To remove the CloudFormation stack instead of deploying it, run:
./deploy-colortokens-aws-stack.sh \
  --aws-profile <AWS_PROFILE> \
  --target-account <TARGET_AWS_ACCOUNT_ID> \
  --colortokens-account <COLORTOKENS_AWS_ACCOUNT_ID> \
  --xcloud-account <XCLOUD_AWS_ACCOUNT_ID> \
  --region <AWS_REGION> \
  --cleanup
Repeat this step for each AWS account you want to onboard.
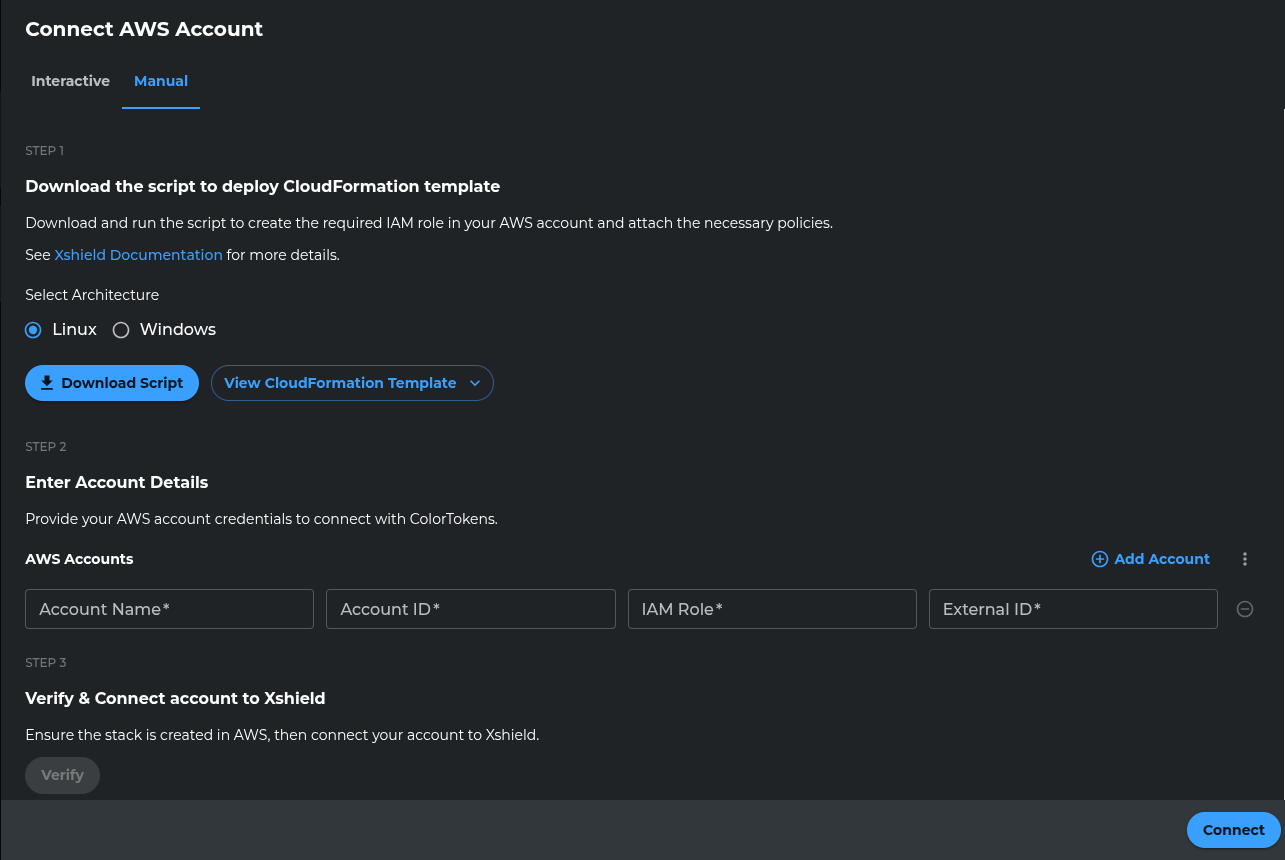
Step 2: Enter Account Details
After the CloudFormation stack is deployed, provide the AWS account details in the Xshield portal.
-
Enter your Account Name and Account ID, then click Verify.
-
After verification completes, click Connect.

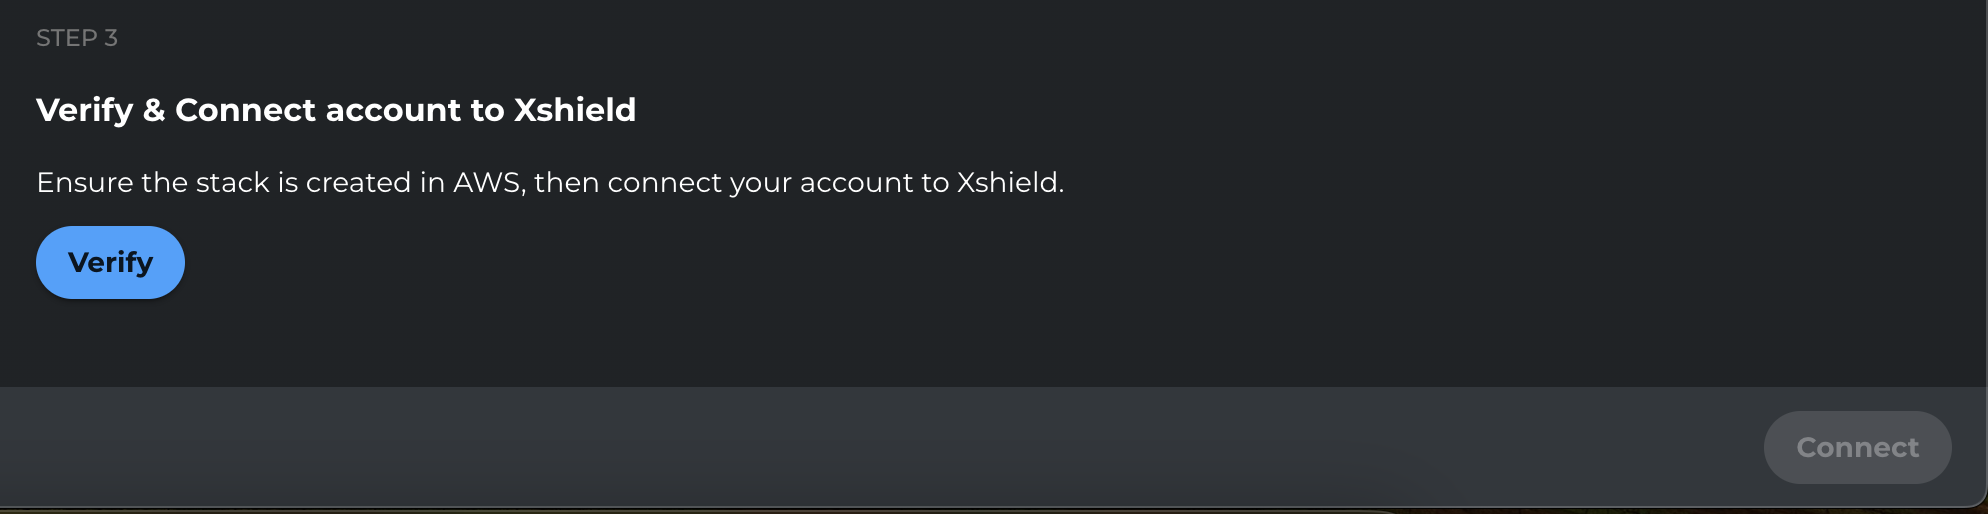
Step 3: Confirm Account Connection
Confirm that the AWS account is connected and appears in the Xshield platform.

Next Steps
After the AWS account is connected:
- Your AWS resources will begin appearing in the Xshield platform
- Network traffic analysis will be available when VPC Flow Logs are enabled and accessible
- Application trace visibility will be available when AWS X-Ray is enabled and accessible
- To grant or revoke access to the flow logs bucket (for network traffic visibility), see VPC Flow Logs.