AWS Decommissioning
This guide walks you through the step-by-step process to decommission (remove) an AWS account from the Xshield Cloud Connector.
Decommissioning Process
Step 1: Navigate to Cloud Connector
- Log in to the Xshield management portal.
- Navigate to Sensors in the left navigation menu.
- Select Cloud Connector.
Step 2: Start Decommissioning
- From the list of connected AWS accounts, locate the account you want to decommission.
- Click the three vertical dots at the end of the row.
- From the dropdown menu, select Decommission.

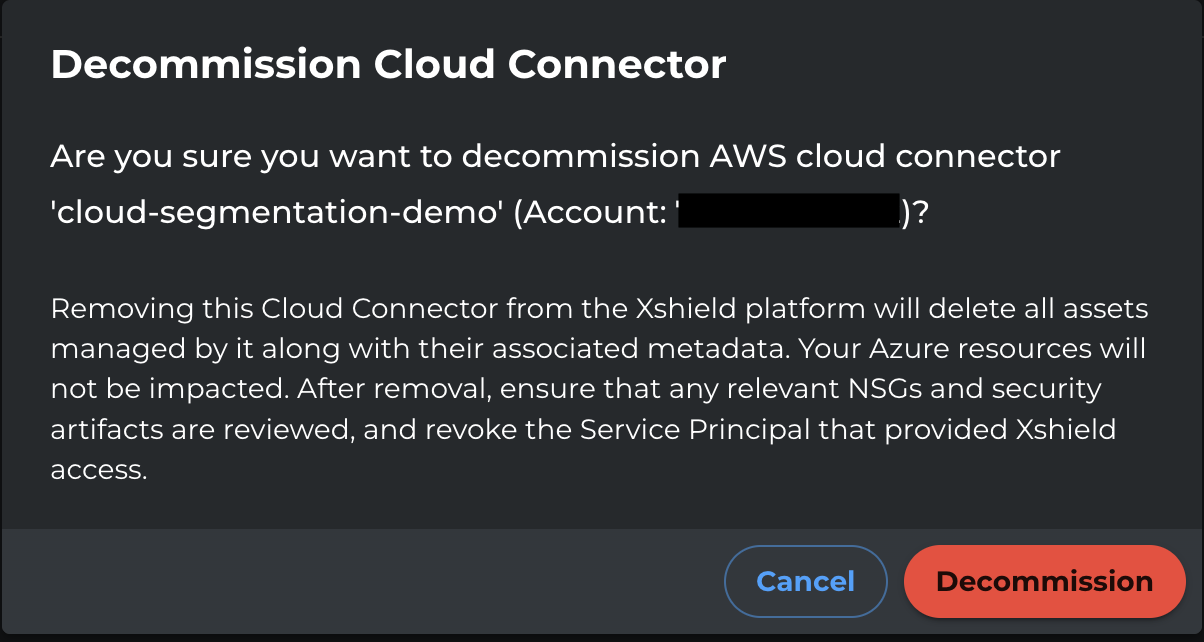
Step 3: Initiate Decommissioning
- Review the confirmation prompt.
- Click Decommission to start the decommissioning process.
Post-Decommission
After successful decommissioning:
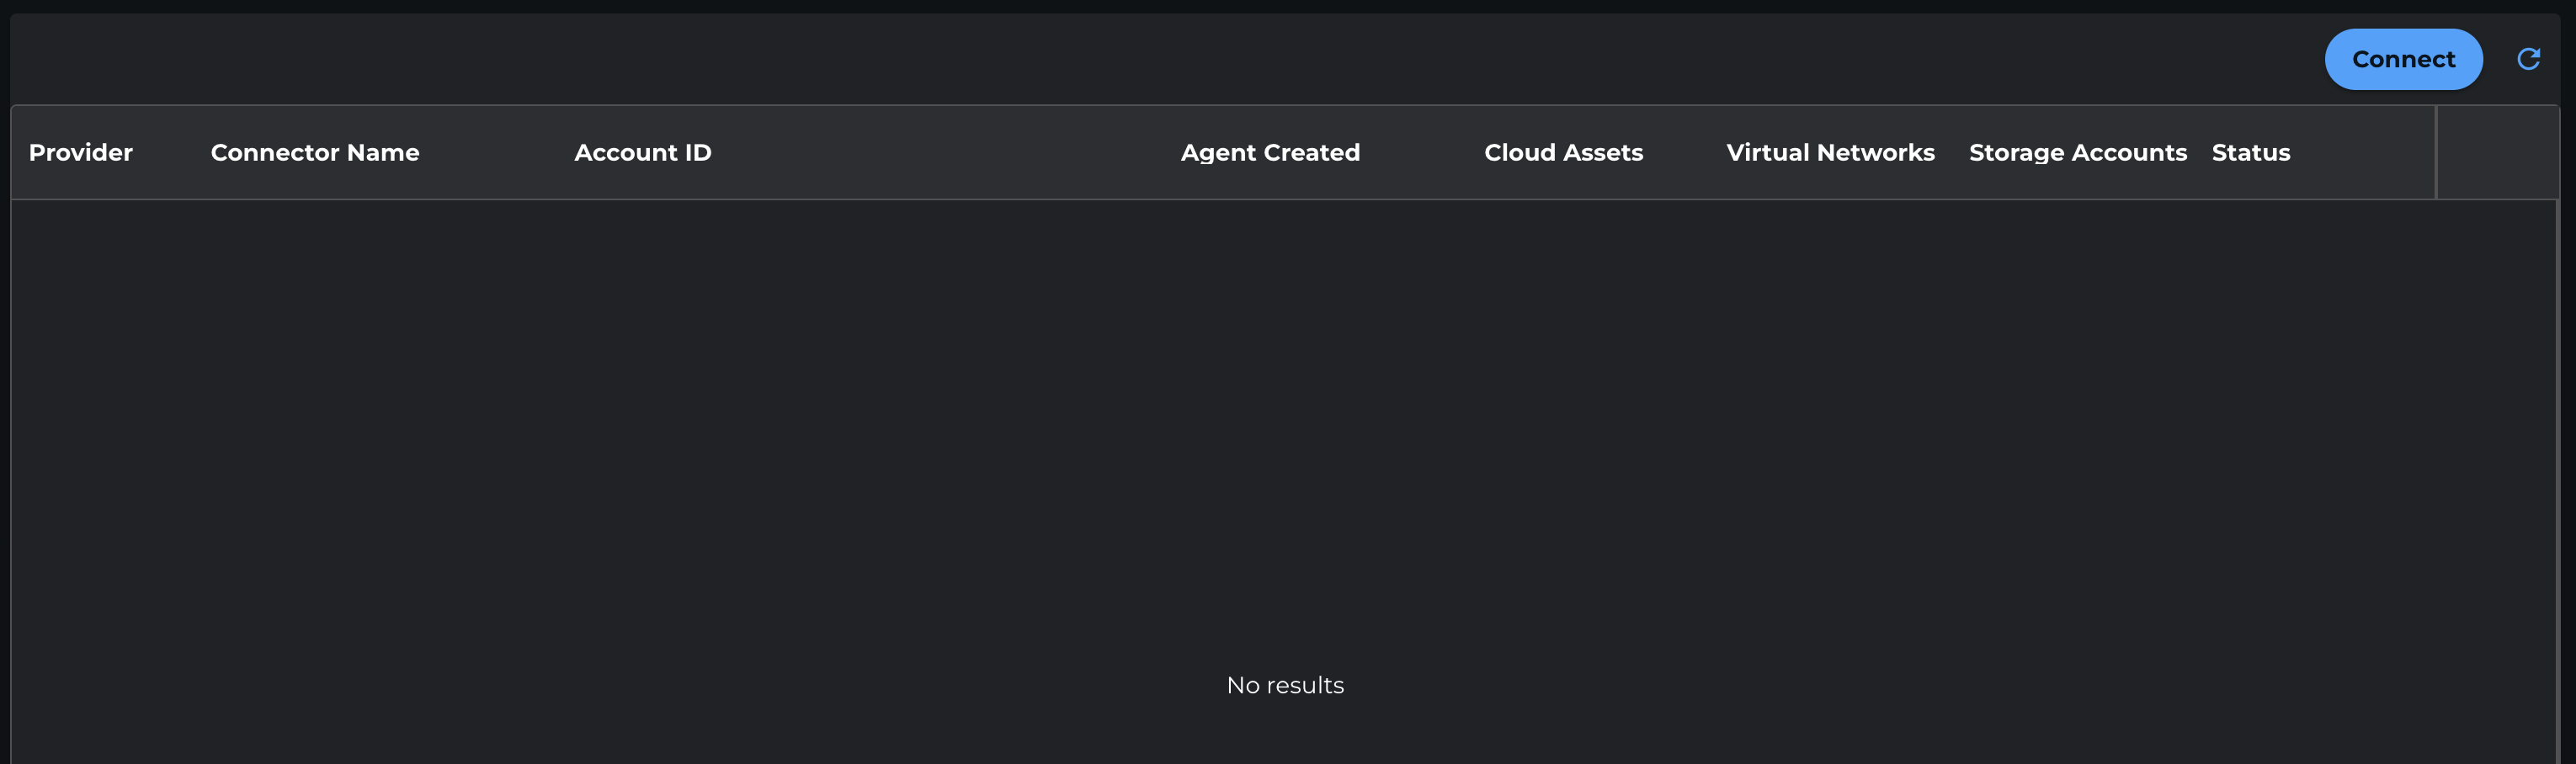
- The AWS account will be removed from the Xshield platform
- It will no longer appear in the list of connected cloud accounts
Delete the AWS CloudFormation Stack
After you decommission the account in Xshield, you can delete the CloudFormation stack that was created during onboarding.
-
In the AWS Console, search for and open CloudFormation.
-
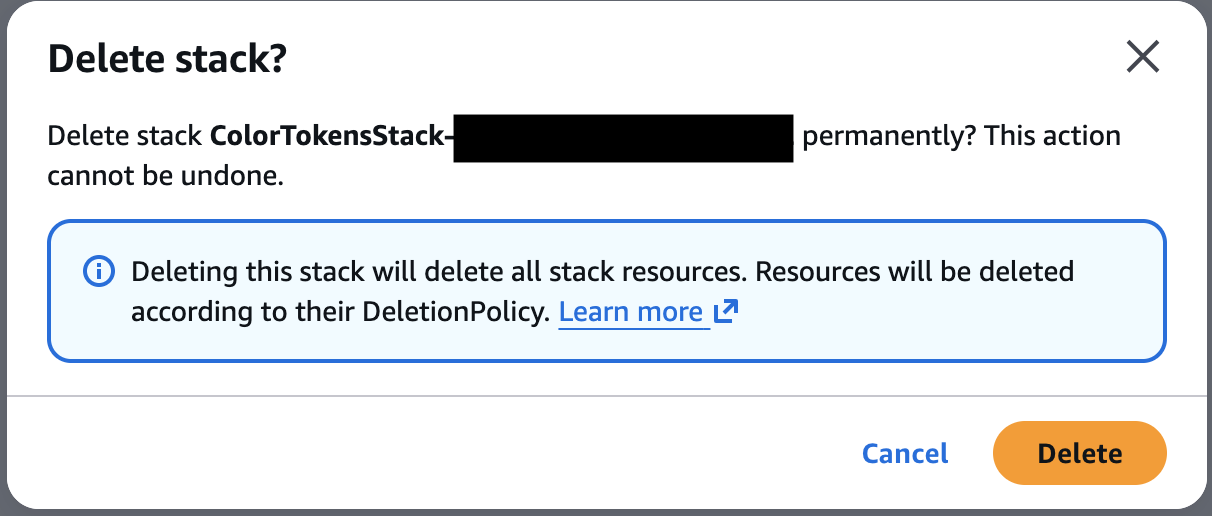
In the list of stacks, locate the stack created during onboarding (for example,
ColorTokensStackForCloudSecurity), then select it.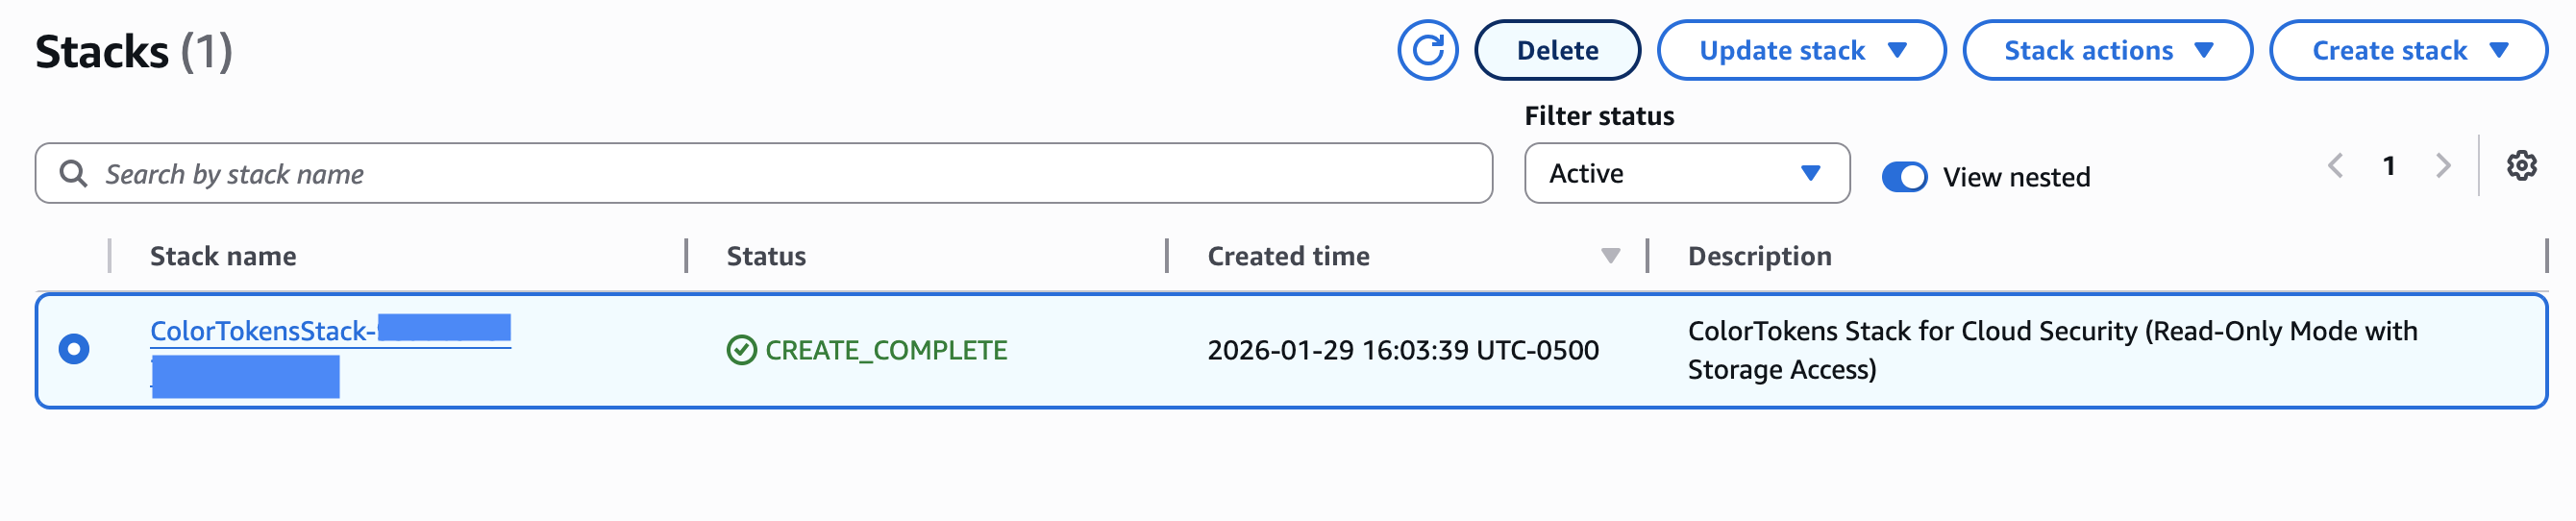
-
Click Delete, then confirm deletion when prompted.
-
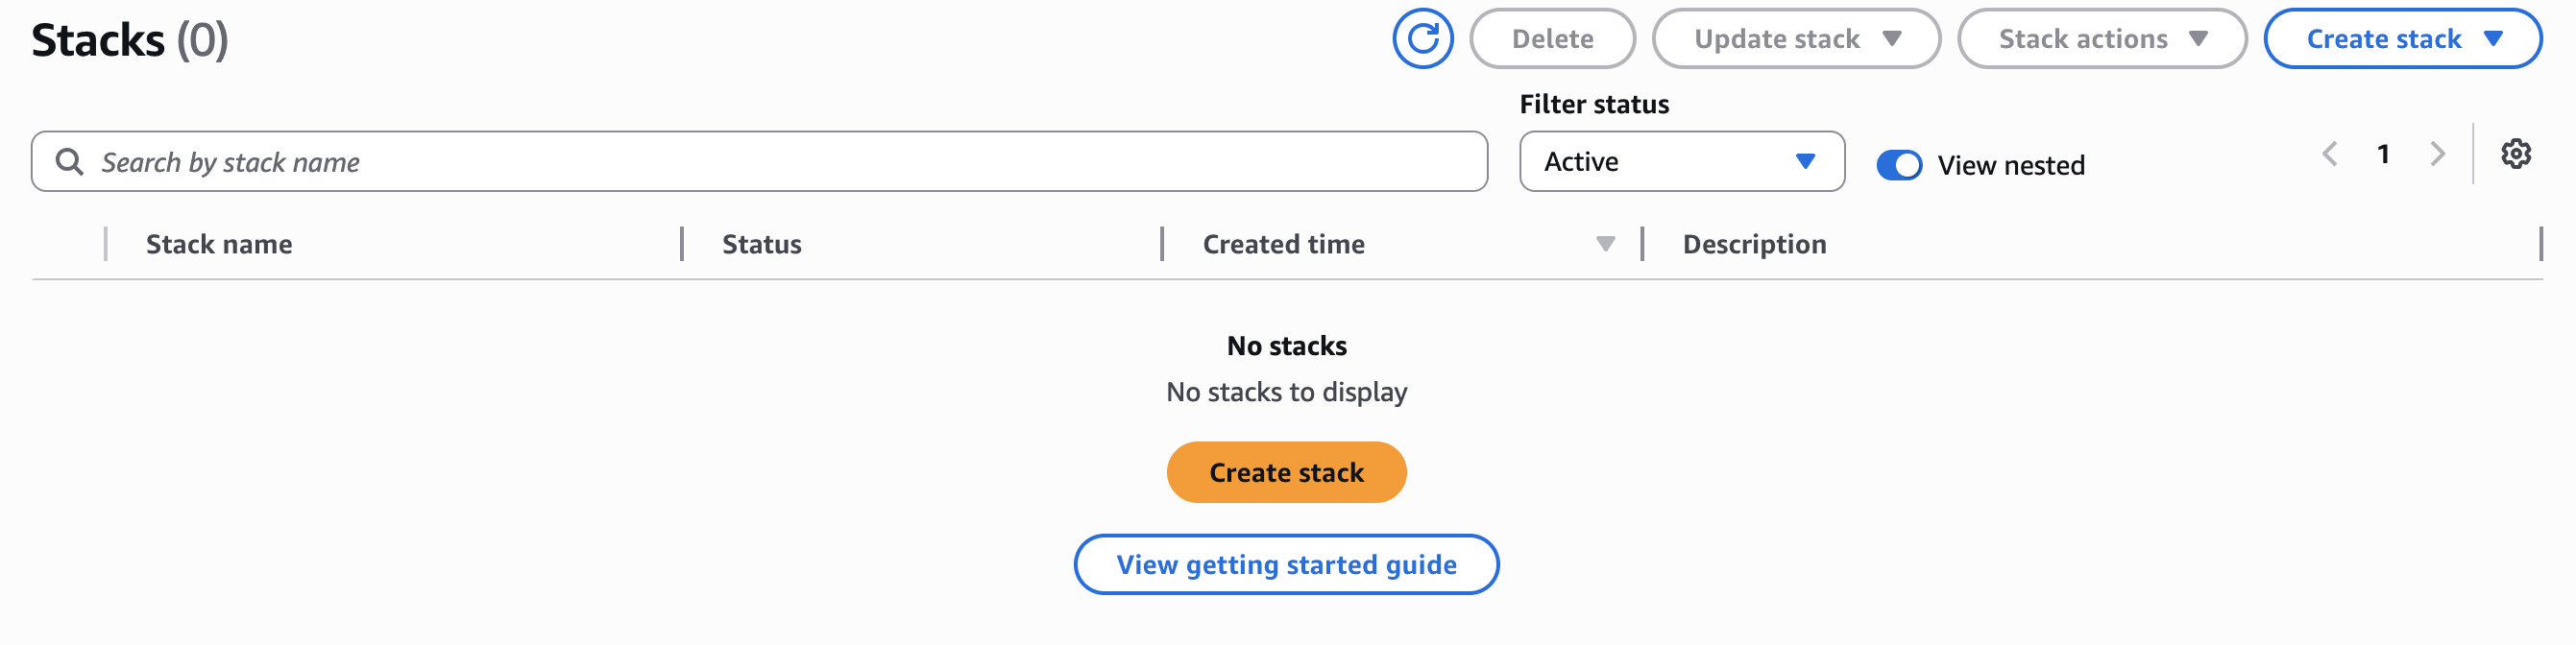
Wait for the stack status to change to DELETE_COMPLETE.
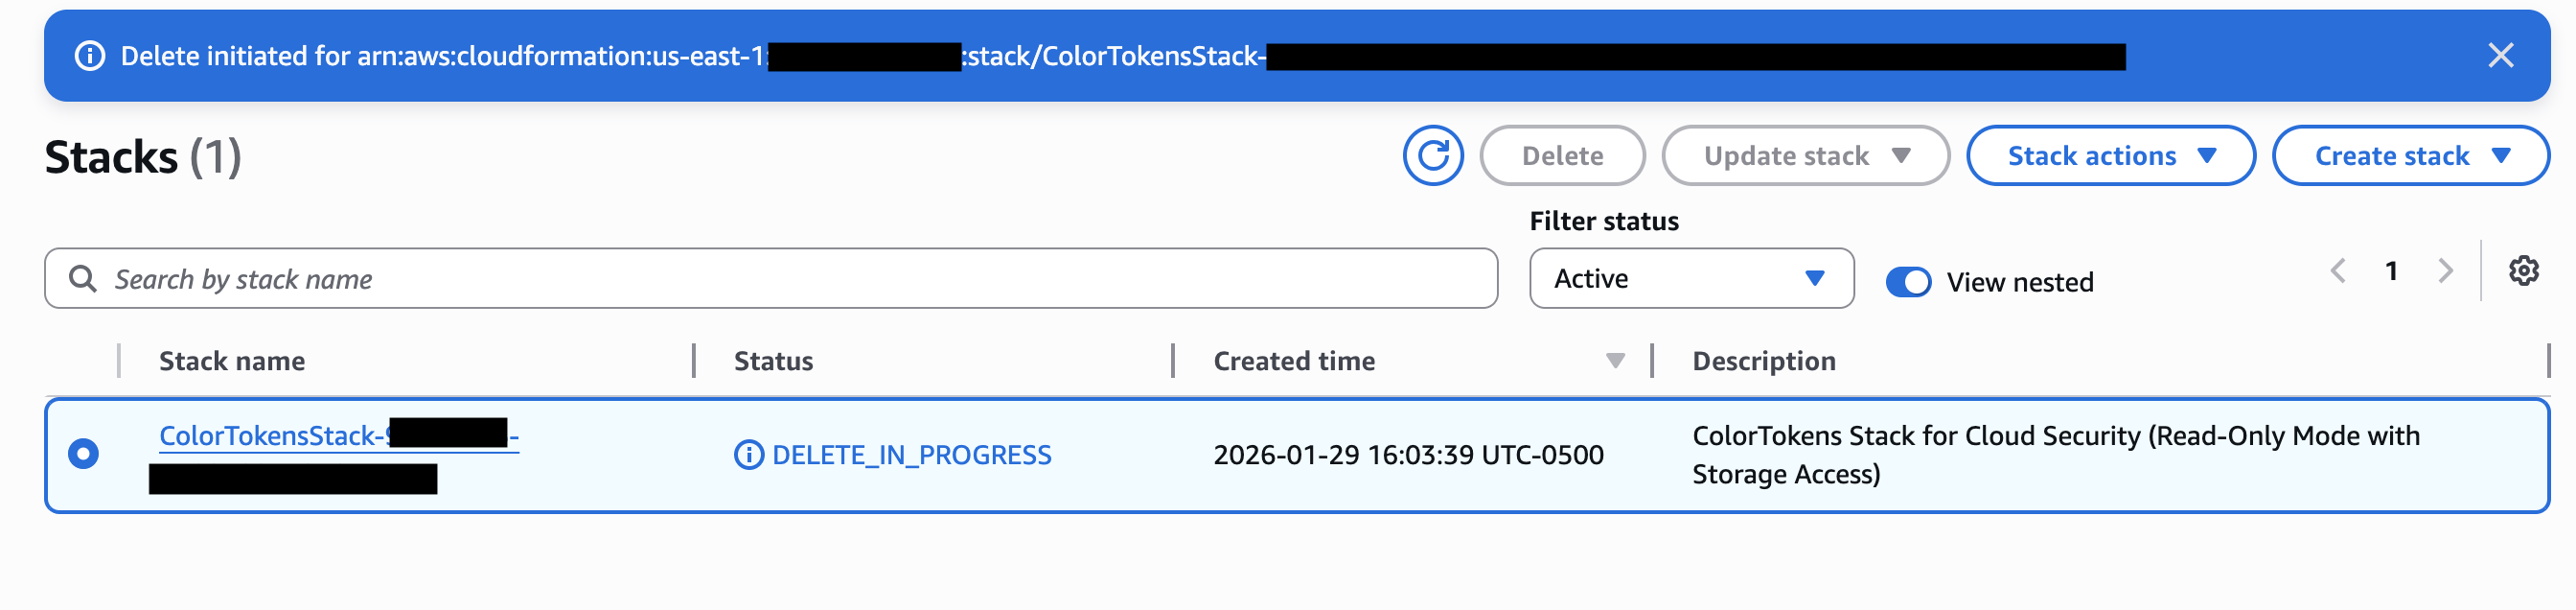
-
Wait for the deletion process to complete. After a few minutes, the stack will no longer appear in the CloudFormation console.