PingOne (SAML 2.0)
Overview
Integrating ColorTokens Xshield with PingOne for SSO enhances security and streamlines access management, ensures compliance with industry regulations and reduces password-related risks.
This guide outlines the steps to integrate PingOne as a SAML identity provider with the ColorTokens Xshield platform.
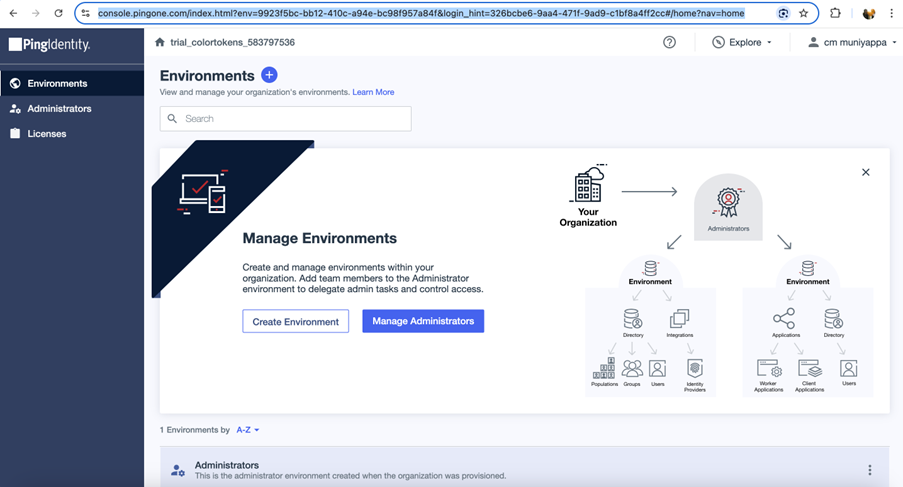
Step 1: Access PingOne
Log in to your PingOne admin portal to configure SAML
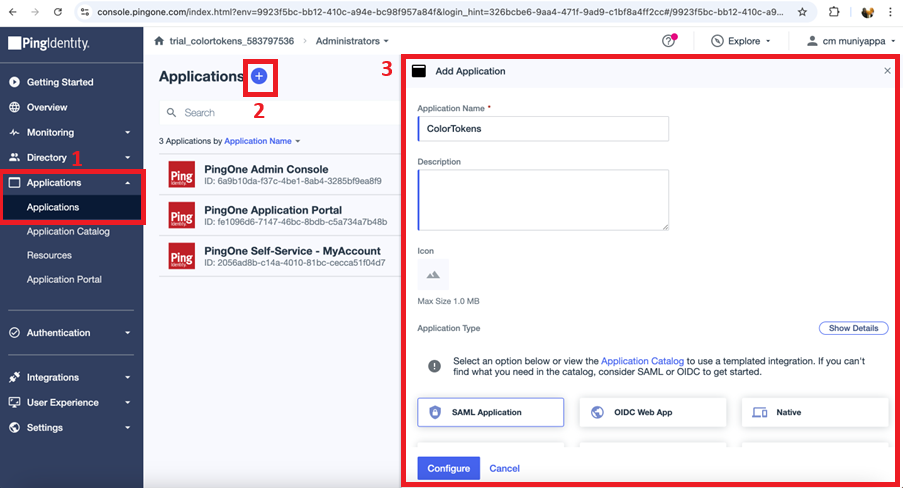
Step 2: Add New SAML Application
- In the sidebar, click Administrators.
- Navigate to Applications.
- Click the “+” icon to add a new application.
- Set the application name as ColorTokens.
- Select SAML Application and click Configure.
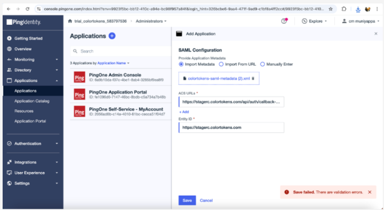
Step 3: SAML Configuration
- In the SAML configuration screen:
- Upload the SAML metadata file.
- Enter the Entity ID and Redirect URL.
- Ignore any “Error” messages for now.
📥 To download metadata, Entity ID, and Redirect URL: In your Xshield tenant, go to:
Settings → Integrations → Identity Provider → SAML 2.0 → Activate
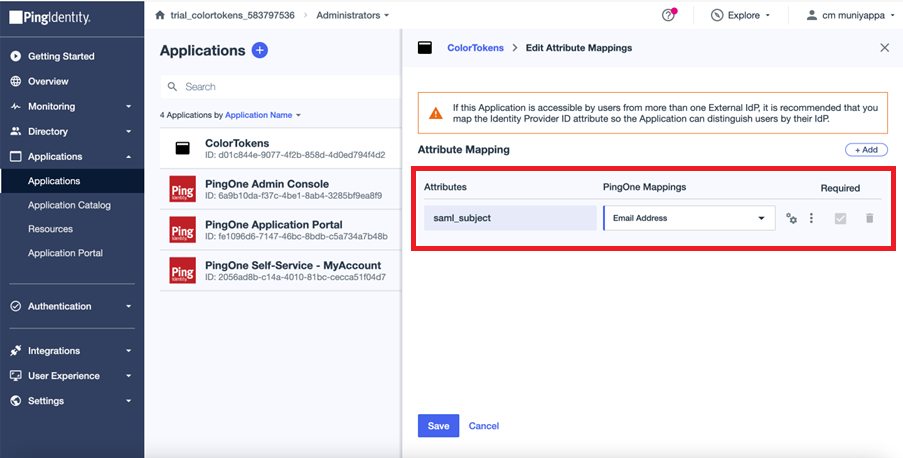
Step 4: Configure Attribute Mappings
- Once the application is created, go to the Attribute Mappings tab.
- Set
saml_subjecttoEmailAddress. - Click Save.
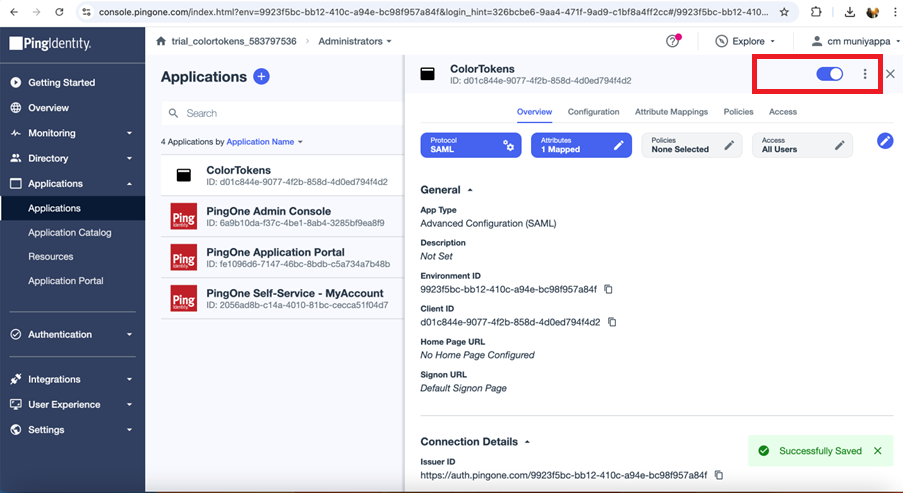
Step 5: Activate Application
Enable the toggle switch next to the application name to activate it.
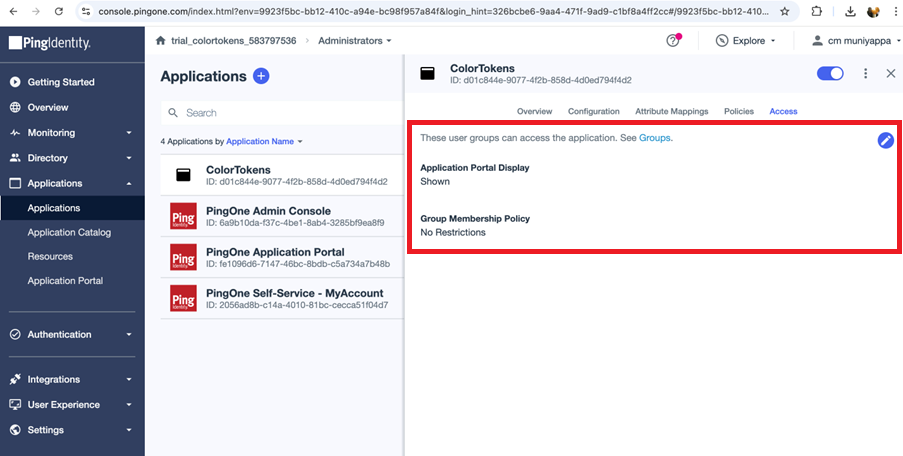
Step 6: Configure User Access
- Add required users to the access group
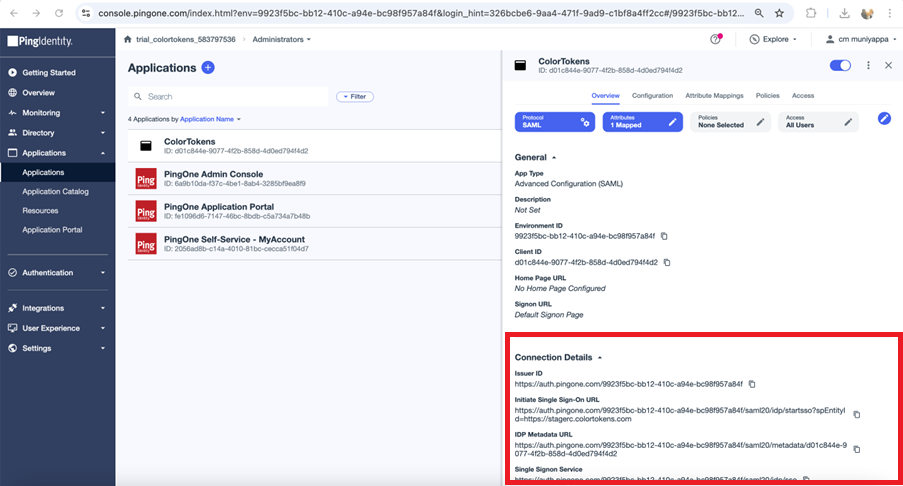
Step 7: Collect IdP Metadata
- Go to the Overview tab of the application.
- In the Connection Details section, copy:
- The IdP Metadata URL
- The SSO Logout URL
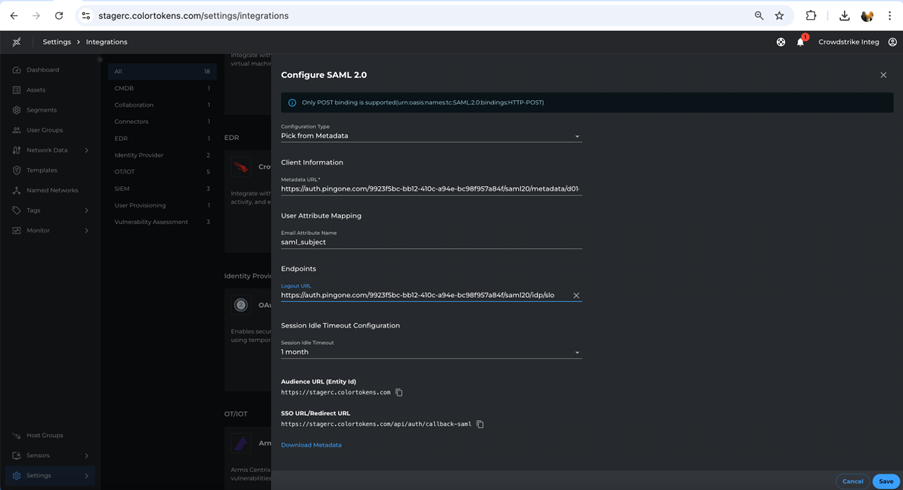
Step 8: Configure in Xshield
In your Xshield tenant:
- Under Settings - Integrations, Navigate to the SAML 2.0 configuration page.
- Enter the:
- IdP Metadata URL
- SSO Logout URL
- Set the Email Attribute Name to
saml_subject. - Click Save and activate the configuration.
Step 9: Test the SAML Flow
After configuration:
- Authentication requests will redirect users to PingOne for login.
- Upon successful authentication, users are redirected to the Xshield Dashboard.
�✅ Your PingOne and Xshield SAML integration is now complete.