Interactive
Introduction
This guide walks you through the step-by-step process for interactive onboarding the Xshield Cloud Connector to your Azure environment.
Important Security Consideration
During the onboarding process, you'll need to decide whether to grant Xshield Cloud Connector read access to all storage accounts in your subscription or configure specific access later. This choice impacts both security and traffic visualization capabilities. Review Step 2 carefully before proceeding.
Step 1: Azure Authentication
You'll be prompted to authenticate with your Azure account and grant permissions.


- Enter your Azure Tenant ID in the provided field
- Click "Sign in and Allow"
- A new browser window will open for Azure authentication
- Sign in with your Azure AD credentials
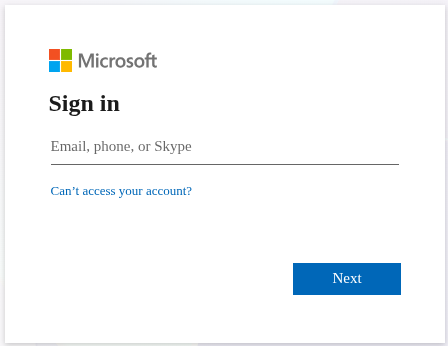
- After successfully signing in, you'll be redirected to the connect page
Step 2: Deploy Permissions Template
Deploy the permissions template to grant necessary access rights to the Xshield Cloud Connector.
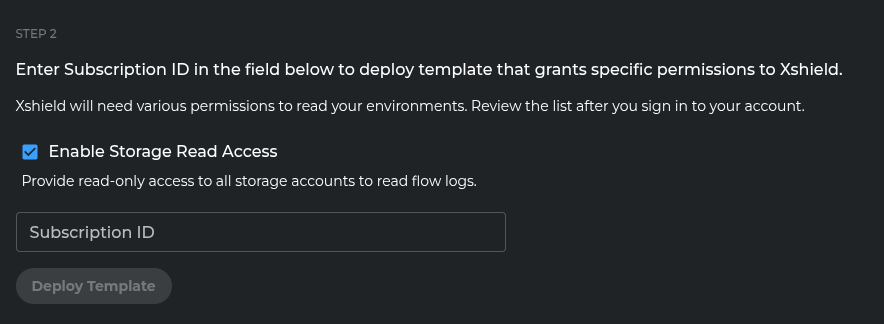
Configure Storage Access (Important Security Decision)
Storage Access Decision Guide
The "Enable Storage Read Access" option grants Xshield Cloud Connector read access to ALL storage accounts in your subscription.
| Environment Type | Recommendation | Checkbox Setting | Benefits | Security Approach |
|---|---|---|---|---|
| Test/Development | ✅ Recommended | Checked (default) | • Immediate traffic visualization • Convenient setup • Quick proof-of-concept | Lower security requirements |
| Production/Sensitive | ❌ Not recommended | Uncheck | • Enhanced security posture • Principle of least privilege • Granular access control | Configure specific storage access after onboarding |
Important: Without read access to storage accounts containing VNet flow logs, traffic visualization features will not work. You can configure specific storage account access after completing the onboarding process.
Deploy the Permissions Template
- Choose your storage access approach based on the security guidance above
- Enter your Azure Subscription ID where you want to deploy the permissions template
- Click "Deploy Template"
- The permissions template will create the necessary role assignments and permissions for the Xshield Cloud Connector service principal
Required Permissions: You need Owner or Contributor role for this step.
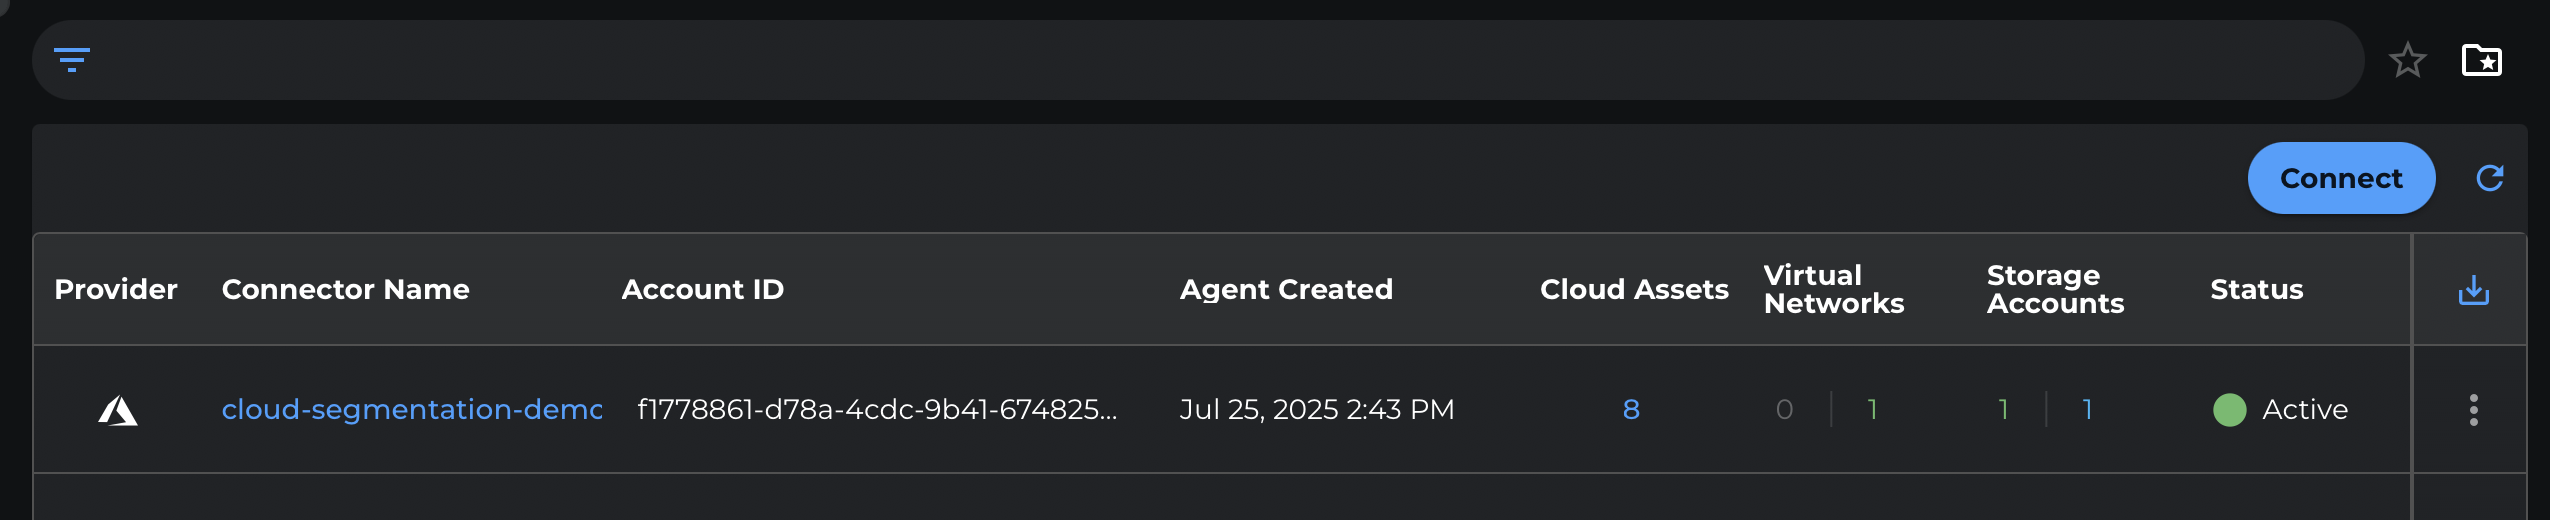
Step 3: Complete Onboarding
Finalize the subscription onboarding process.

- Click "Connect" to complete the onboarding
- Wait for the process to complete
- You'll be redirected to the Cloud Connector dashboard
- Verify that your subscription name appears in the dashboard, confirming successful onboarding
Next Steps
After successful onboarding:
- Your Azure resources will begin appearing in the Xshield platform
- Network traffic analysis will be available if storage access was enabled
- You can start configuring security policies for your Azure environment