Azure Onboarding
Introduction
This guide walks you through the step-by-step process for onboarding the Xshield Cloud Connector to your Azure environment.
Prerequisites
Before you begin, ensure you have:
- Active Azure subscription with administrative access
- Azure AD account with Owner role (needed for template deployment)
- Active Xshield account with access to the management portal
- Azure Tenant ID for your subscription
Onboarding Process
Step 1: Navigate to Cloud Connector
- Log in to the Xshield management portal
- Navigate to Sensors in the left navigation menu
- Select Cloud Connector from the sensors section
Step 2: Start Onboarding
Click the "Connect" button to begin the onboarding process.

Click "Connect Account" in the Azure row to proceed with the Azure onboarding process.

Step 3: Select Onboarding Method
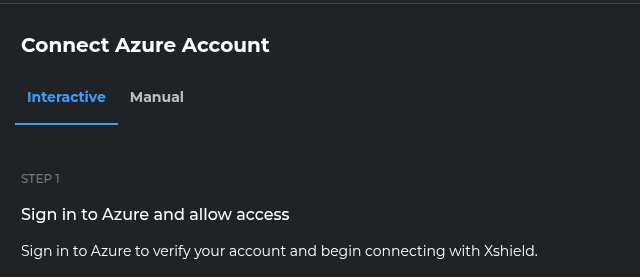
Select one of the following onboarding options at the top of the page, based on your preference.
Interactive
Sign in to Azure and grant permission to automatically deploy the required permissions template, enabling access for the Xshield Cloud Connector. Fastest option; recommended for most users.
Script-based
Download and run a setup script in your environment to create the required custom role and assign it to the Xshield Cloud Connector. Then enter your Tenant ID and Subscription ID(s) in the portal and connect. Use when you prefer not to sign in to Azure from the browser or need to run setup in a controlled environment.
Manual (Portal-based)
Create the custom role and configure the service principal yourself in the Azure Portal, then connect using your Tenant ID and Subscription ID(s). Use when you cannot run the script or need to follow strict change-management or compliance procedures.
Choose the appropriate onboarding method for detailed instructions:
- Interactive — Step-by-step instructions
- Script-based — Step-by-step instructions
- Manual (Portal-based) — Step-by-step instructions