Lab Setup for Microsoft Defender (MDE) Integration
Basic Lab Setup
Complete the basic Xshield Lab setup before proceeding with this guide.
Refer to the Basic Lab Environment Setup for installation instructions.
Prerequisites
- Microsoft Defender Portal Access: Tenant/Organization access to setup the Streaming API to export the telemetry data to Azure Storage account. Contact your Microsoft Defender tenant administrator to obtain access.
4. Configure Defender Telemetry Export via Streaming API
-
Generate API credentials for Microsoft Defender integration with Xshield
If you already have the API credentials, skip to step 2.
Follow the Generate API Credentials for Integrating Microsoft Defender for Endpoint with Xshield platform using Terraform guide to generate API credentials.
-
Verify Entra ID Application Permissions
Ensure your application registered on Microsoft Entra ID (entra.microsoft.com) has ReadWrite permissions in addition to the default ReadAll permissions. This is required to make configuration changes to the Microsoft Defender platform via API calls.
- Go to Entra ID (entra.microsoft.com), Login with the Microsoft Defender portal credentials
- Go to App registrations → Select your Application → API permissions → Add a permission Choose APIs my organization uses (or Microsoft APIs) and select WindowsDefenderATP
- Select Application permissions (not Delegated)
- Select Machine.ReadWrite.All under Machine and click on
Add Permissions
- Select Machine.ReadWrite.All under Machine and click on
- Click Grant admin consent for the tenant-name
- Wait 2-5 minutes to verify the new API permissions reflected for the application
In case you see failures, please contact your Application Administrator to set the appropriate permissions or connect with Xshield Lab Dev team
-
Setup Streaming API for telemetry data export Please follow steps from Configure Streaming API to export telemetry data from MDE to Azure storage queue
The Microsoft Defender API credentials will be used in the next steps to deploy the lab environment, please note them down
client_id, tenant_id, client_secret, storage_account_name, and queue_name
Deploying Microsoft Defender Lab
In this lab setup, we will deploy a Microsoft Defender environment to demonstrate the integration between Xshield and Microsoft Defender.
The setup will create 11 Docker containers on the lab machine and install Microsoft Defender (MDE) agents on 8 of them as managed endpoints and remaining 3 will be as unmanaged networks.
The containers will be configured to generate traffic on specific ports to simulate real-world scenarios.
Note: The number of containers can be configured in mde_lab.yaml, and traffic/ports can be configured in mde_lab_traffic.yaml files located in /etc/colortokens/config/lab_data/ on the lab VM.
Follow these steps to deploy the lab:
Steps to deploy Microsoft Defender Lab Environment
-
Deploy the Microsoft Defender lab environment using Xshield Lab
Execute the following command to initiate lab creation
create-lab mde -
Enter Microsoft Defender API credentials
You will be prompted to enter the Microsoft Defender API credentials. Provide the values noted in step 2:
tenantId: <Enter Microsoft Defender API tenant ID>
clientId: <Enter Microsoft Defender API client ID>
clientSecret: <Enter Microsoft Defender API client secret>
storageaccount: <Enter Microsoft Defender API storage account name>
storagequeue: <Enter Microsoft Defender API storage queue name>

Once the API credentials are validated, the script will start to create the Docker images with the onboarding package provided.
-
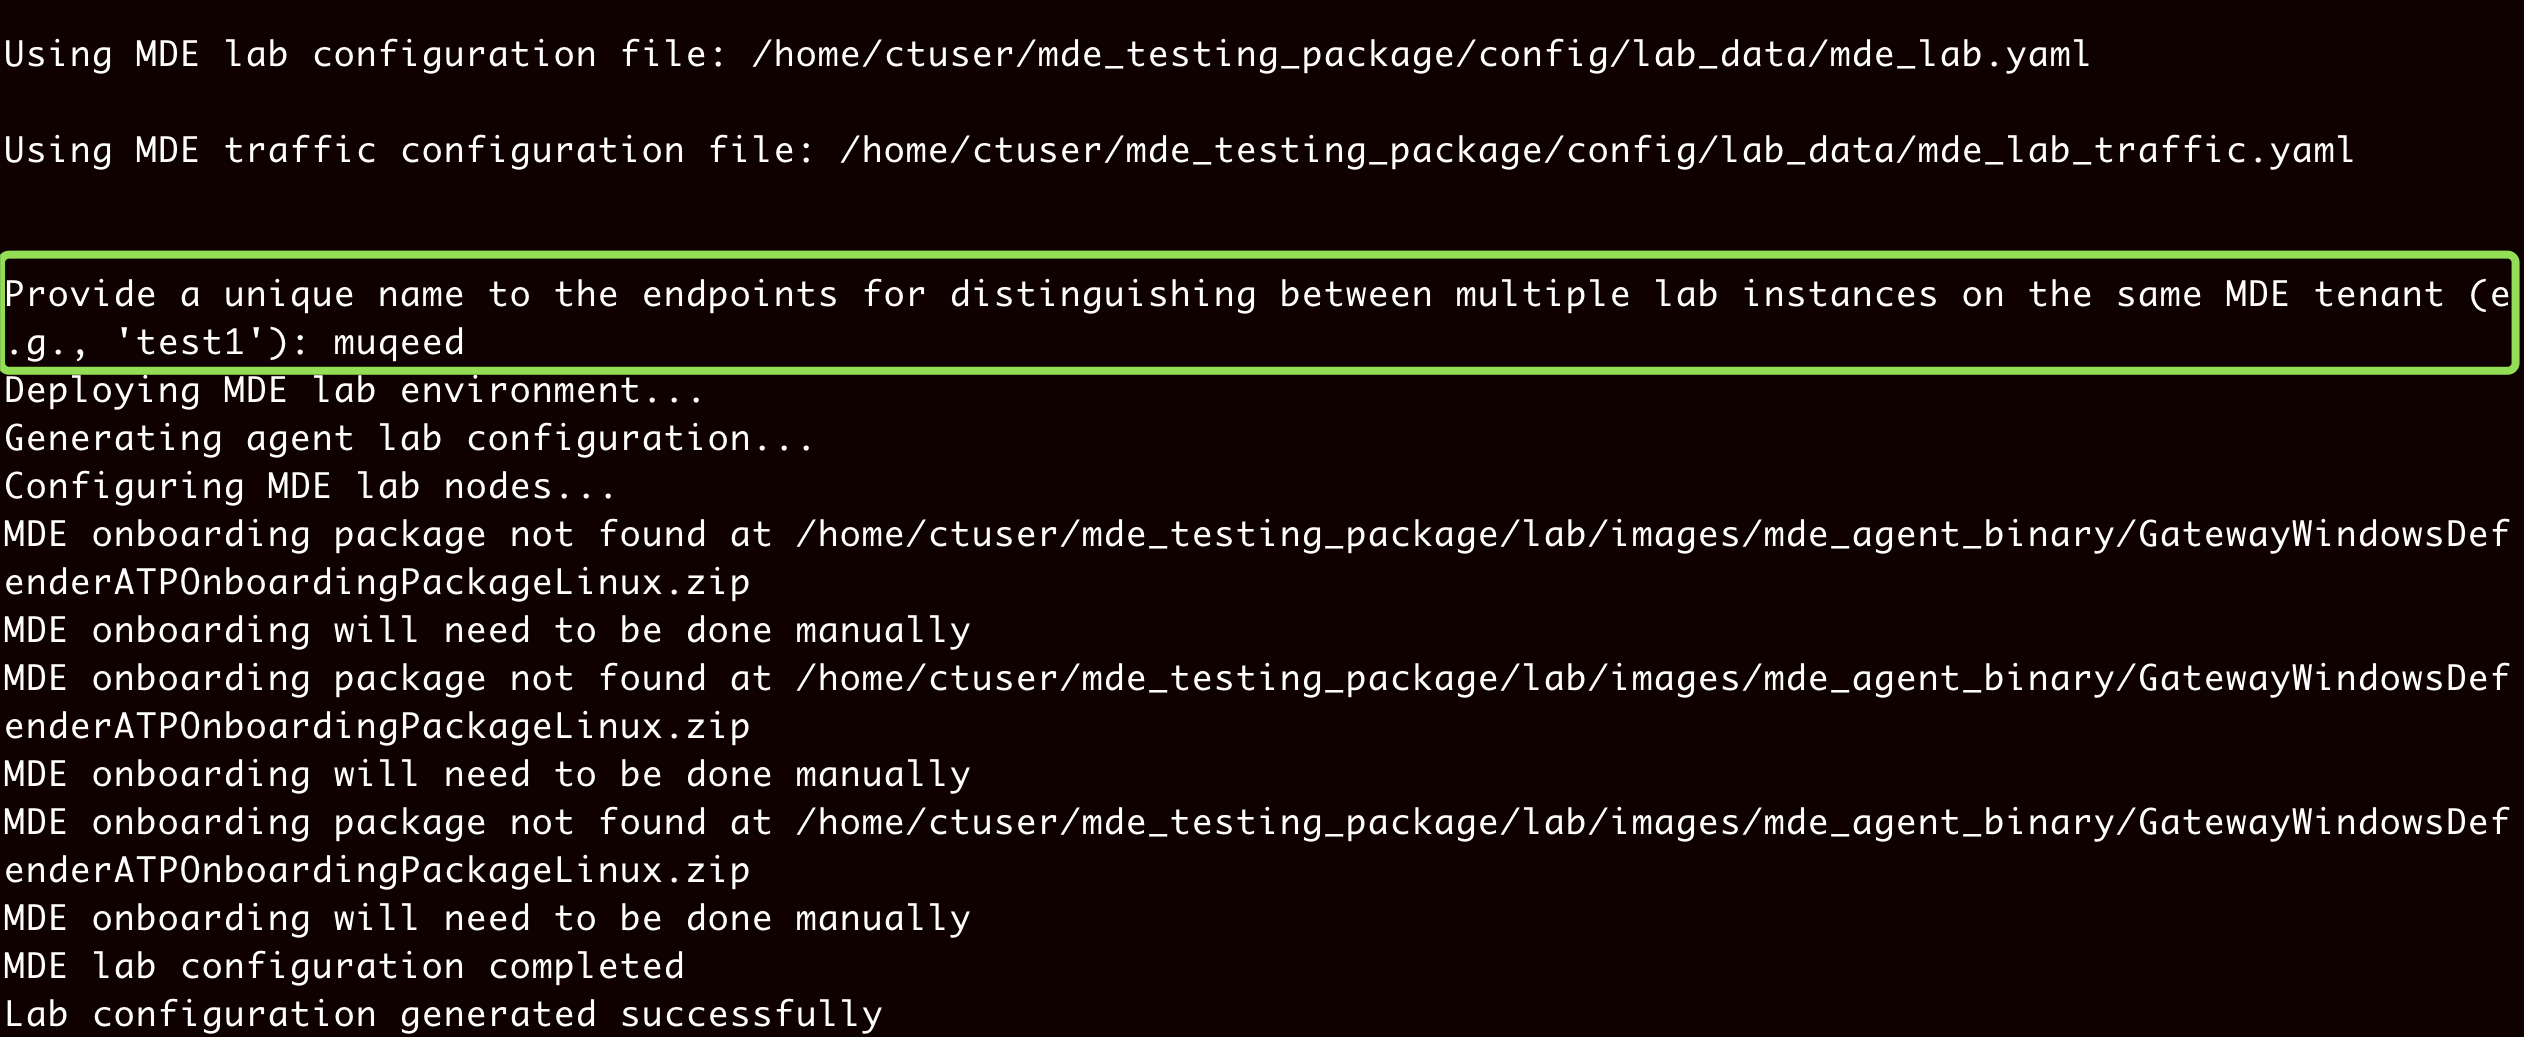
Provide a unique identifier for the lab endpoints
After the Docker images are created, you will be prompted to provide a unique name for the endpoints. This identifier distinguishes between multiple lab instances on the same MDE tenant.
The unique name will be:
- Added to each endpoint onboarded to the MDE platform
- Used to tag these endpoints for identification
Recommendation: Use your name or initials as the unique identifier.
Final Outcome
Once the steps are completed successfully, the Xshield Lab tool executes the following actions:
- Creates Linux docker containers based on the
mde_lab.yamlfile with the respective ports opened. - Installs the Microsoft Defender agent on containers using the provided onboarding package.
- Configures ports and initiates traffic between containers based on the
mde_lab_traffic.yamlfile. - Validates that endpoints are successfully onboarded to the MDE platform.
- Assigns a tag to onboarded endpoints in MDE with the name
XshieldLab-<unique name>. - Performs the EDR integration between MDE and Xshield platform.
- Imports the assigned tag from MDE to Xshield platform.
- Activates the imported tag in Xshield platform.
- Syncs devices and updates the Xshield platform with the endpoints onboarded to MDE.
Remove the Lab Environment
To remove the lab environment, follow these steps:
-
Execute the delete-lab command
On the lab VM run:
delete-lab -
Select the appropriate option from the interactive menu

The following cleanup actions will be performed:
- The offboarding process will remove mdatp process running on all docker containers to remove the Microsoft Defender agent.
- All docker containers will be removed.
- The tag imported from the MDE platform will be inactivated from Xshield platform.
- The tag assigned to onboarded endpoints in MDE will be removed and replaced with
Decommissioned. - Tags and devices imported from the MDE platform will be removed.
- Assets onboarded from the MDE platform will be removed from Xshield.
Note:
- You will need to manually remove the endpoints from the Microsoft Defender portal by adding them to the Exclude list.